
This is a regular update my Now page. I publish them as a blog post for archive purposes. You can also view all my past now entries.
I was thrilled to have my desk setup showcased on Workpsaces.xyz, a weekly newsletter about, you guessed it, workspaces. Afterward, a few people reached out with some questions about my mechanical keyboard and its keycaps. I thought it would be nice to share the keyboard’s specs plus go over how to order custom keycaps. Let's dive in!
Since switching to Mac, I have usually stuck to Apple's own magic keyboards. But not so long ago, a coworker who's really into mechanical keyboards created a sweet custom keyboard for me, which sparked my love for them. It is night and day compared to the smushy keys of the magic keyboard! I'm still using it today, especially for long-form writing, and I love it.
Keyboard details
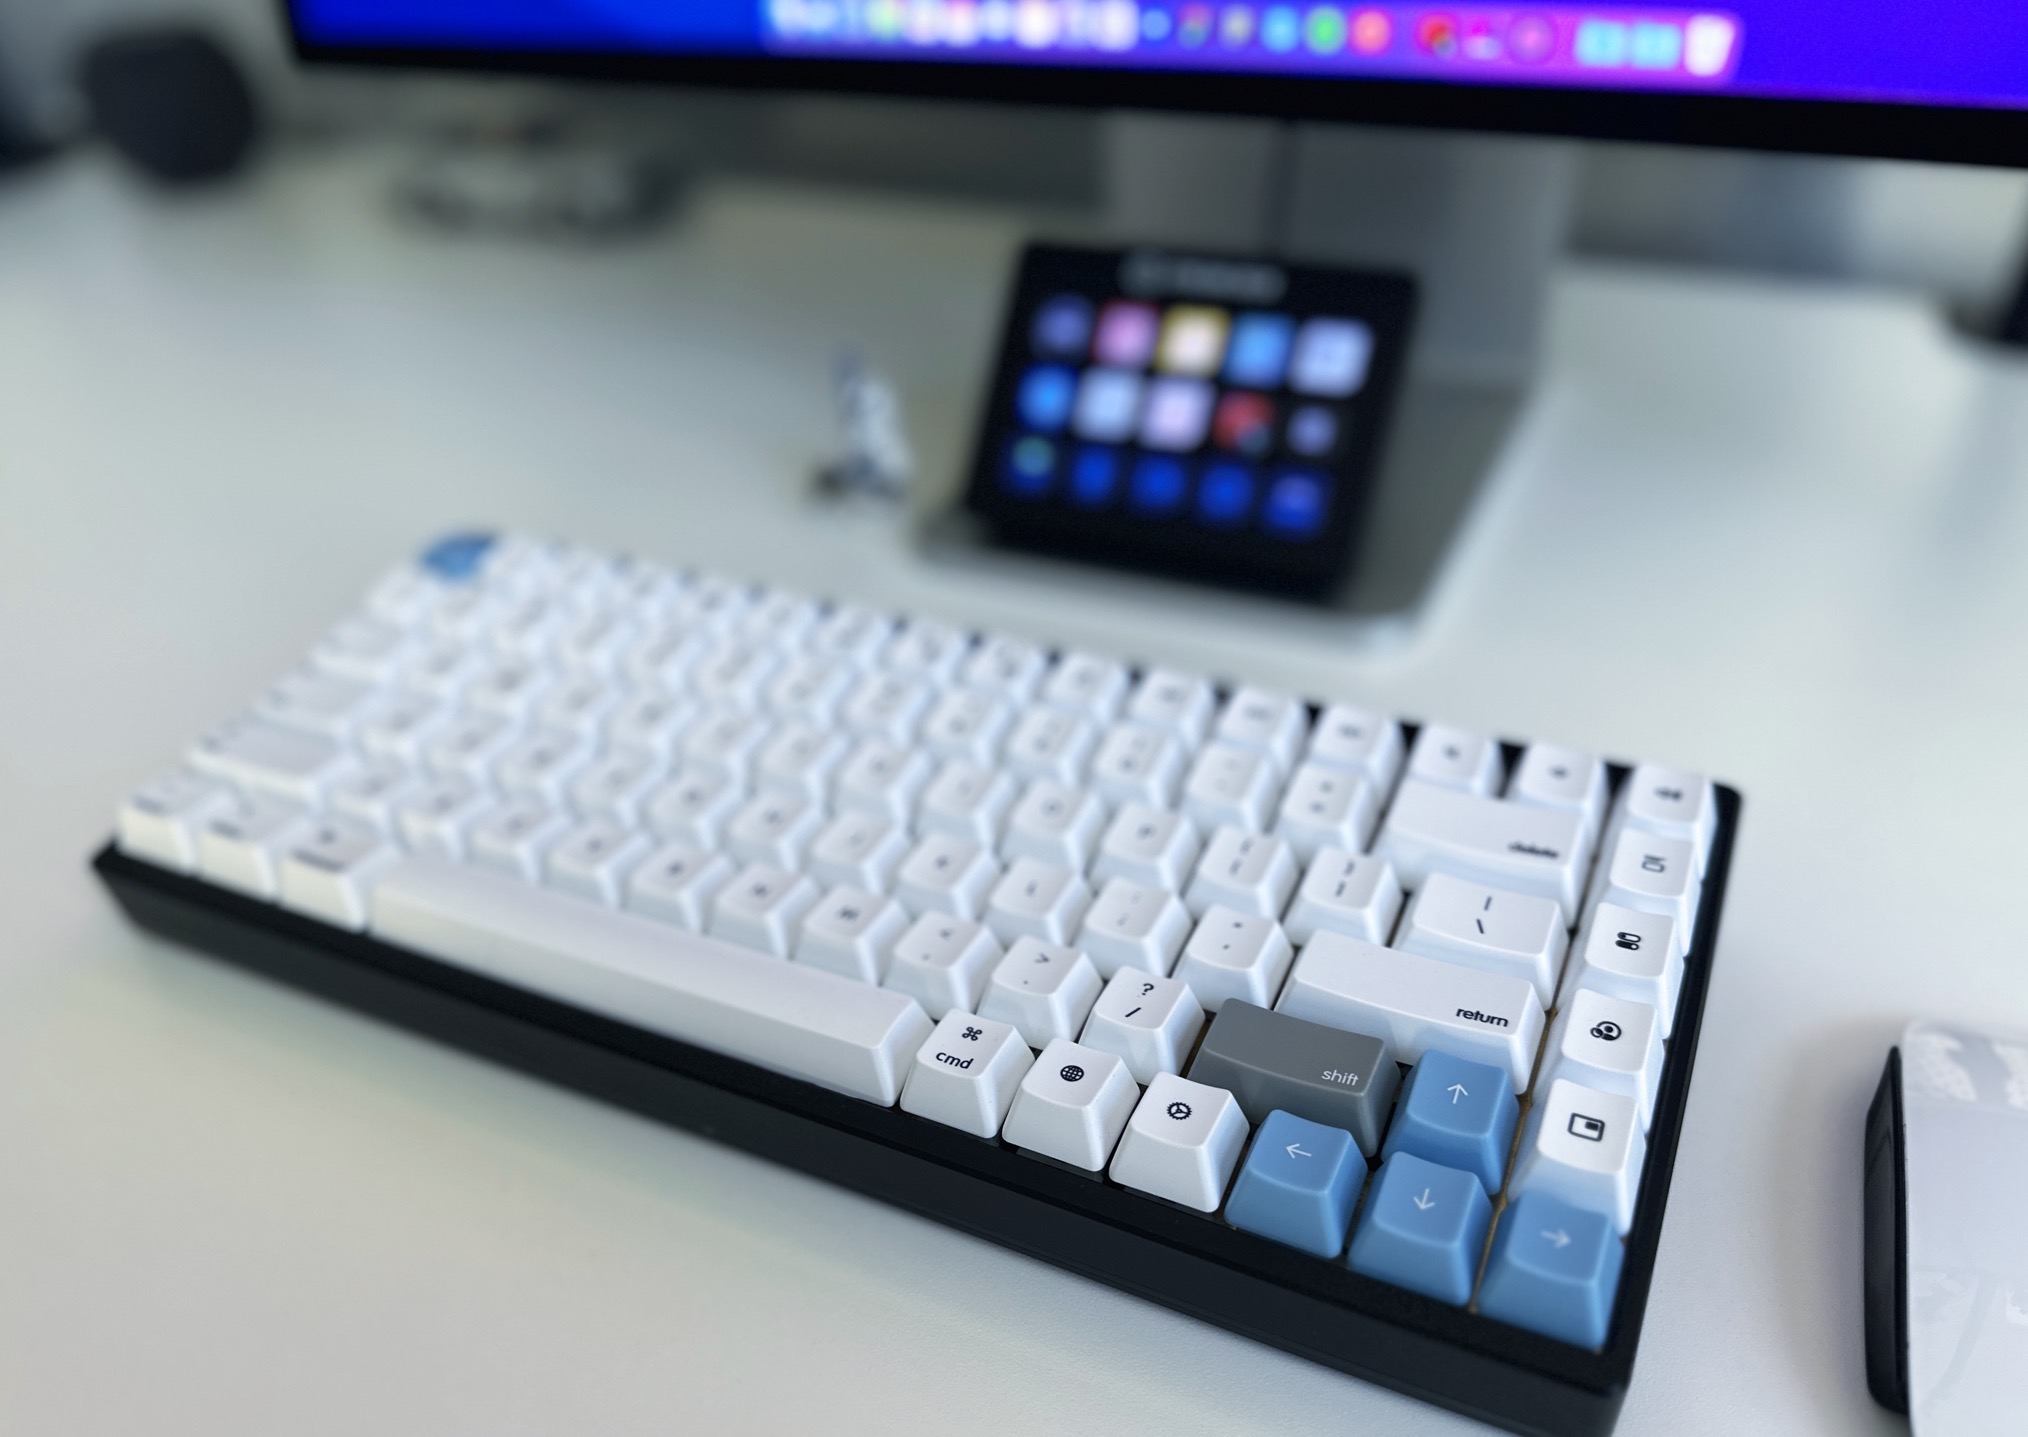
I'm by no means an expert on mechanical keyboards – if you are like me, here is a good general intro to the topic and here is an overview of the different layouts. Here is my best try at breaking down all the parts that made up my keyboard, in case you are interested:
- Case: KDBFans 75 Black
- PCB: KDB75 hot swap with RGB Underglow
- Plate: Brass
- Stabilizer: DUROCK V2 PCB Mount Screw-in Stabilizers
- Switches: BOBA U4T Tactile
I was lucky to have the keyboard built for me, as I'm not sure I could buy the parts separately on my own. Some good options exist for prebuilt Mechanical Keyboards for Mac if you don't want to build from scratch. A few that stand out to me are the Keychron and the MX Mechanical Mini from Logitech. The tradeoffs with going that route are the quality of materials and switches are much nicer on custom boards.
Searching for Mac-specific keycaps
After a while of using the keyboard, being a total Apple Fanboy, I went on the hunt for keycaps that were explicitly made for Macs and had the same layout as my Mac keyboard. I really wanted them to look like the slick keys on the Apple Magic keyboards that I'm so used to. Unfortunately, I couldn't find any that fit the bill, so I decided to go ahead and design my own and send them off to a vendor for printing.
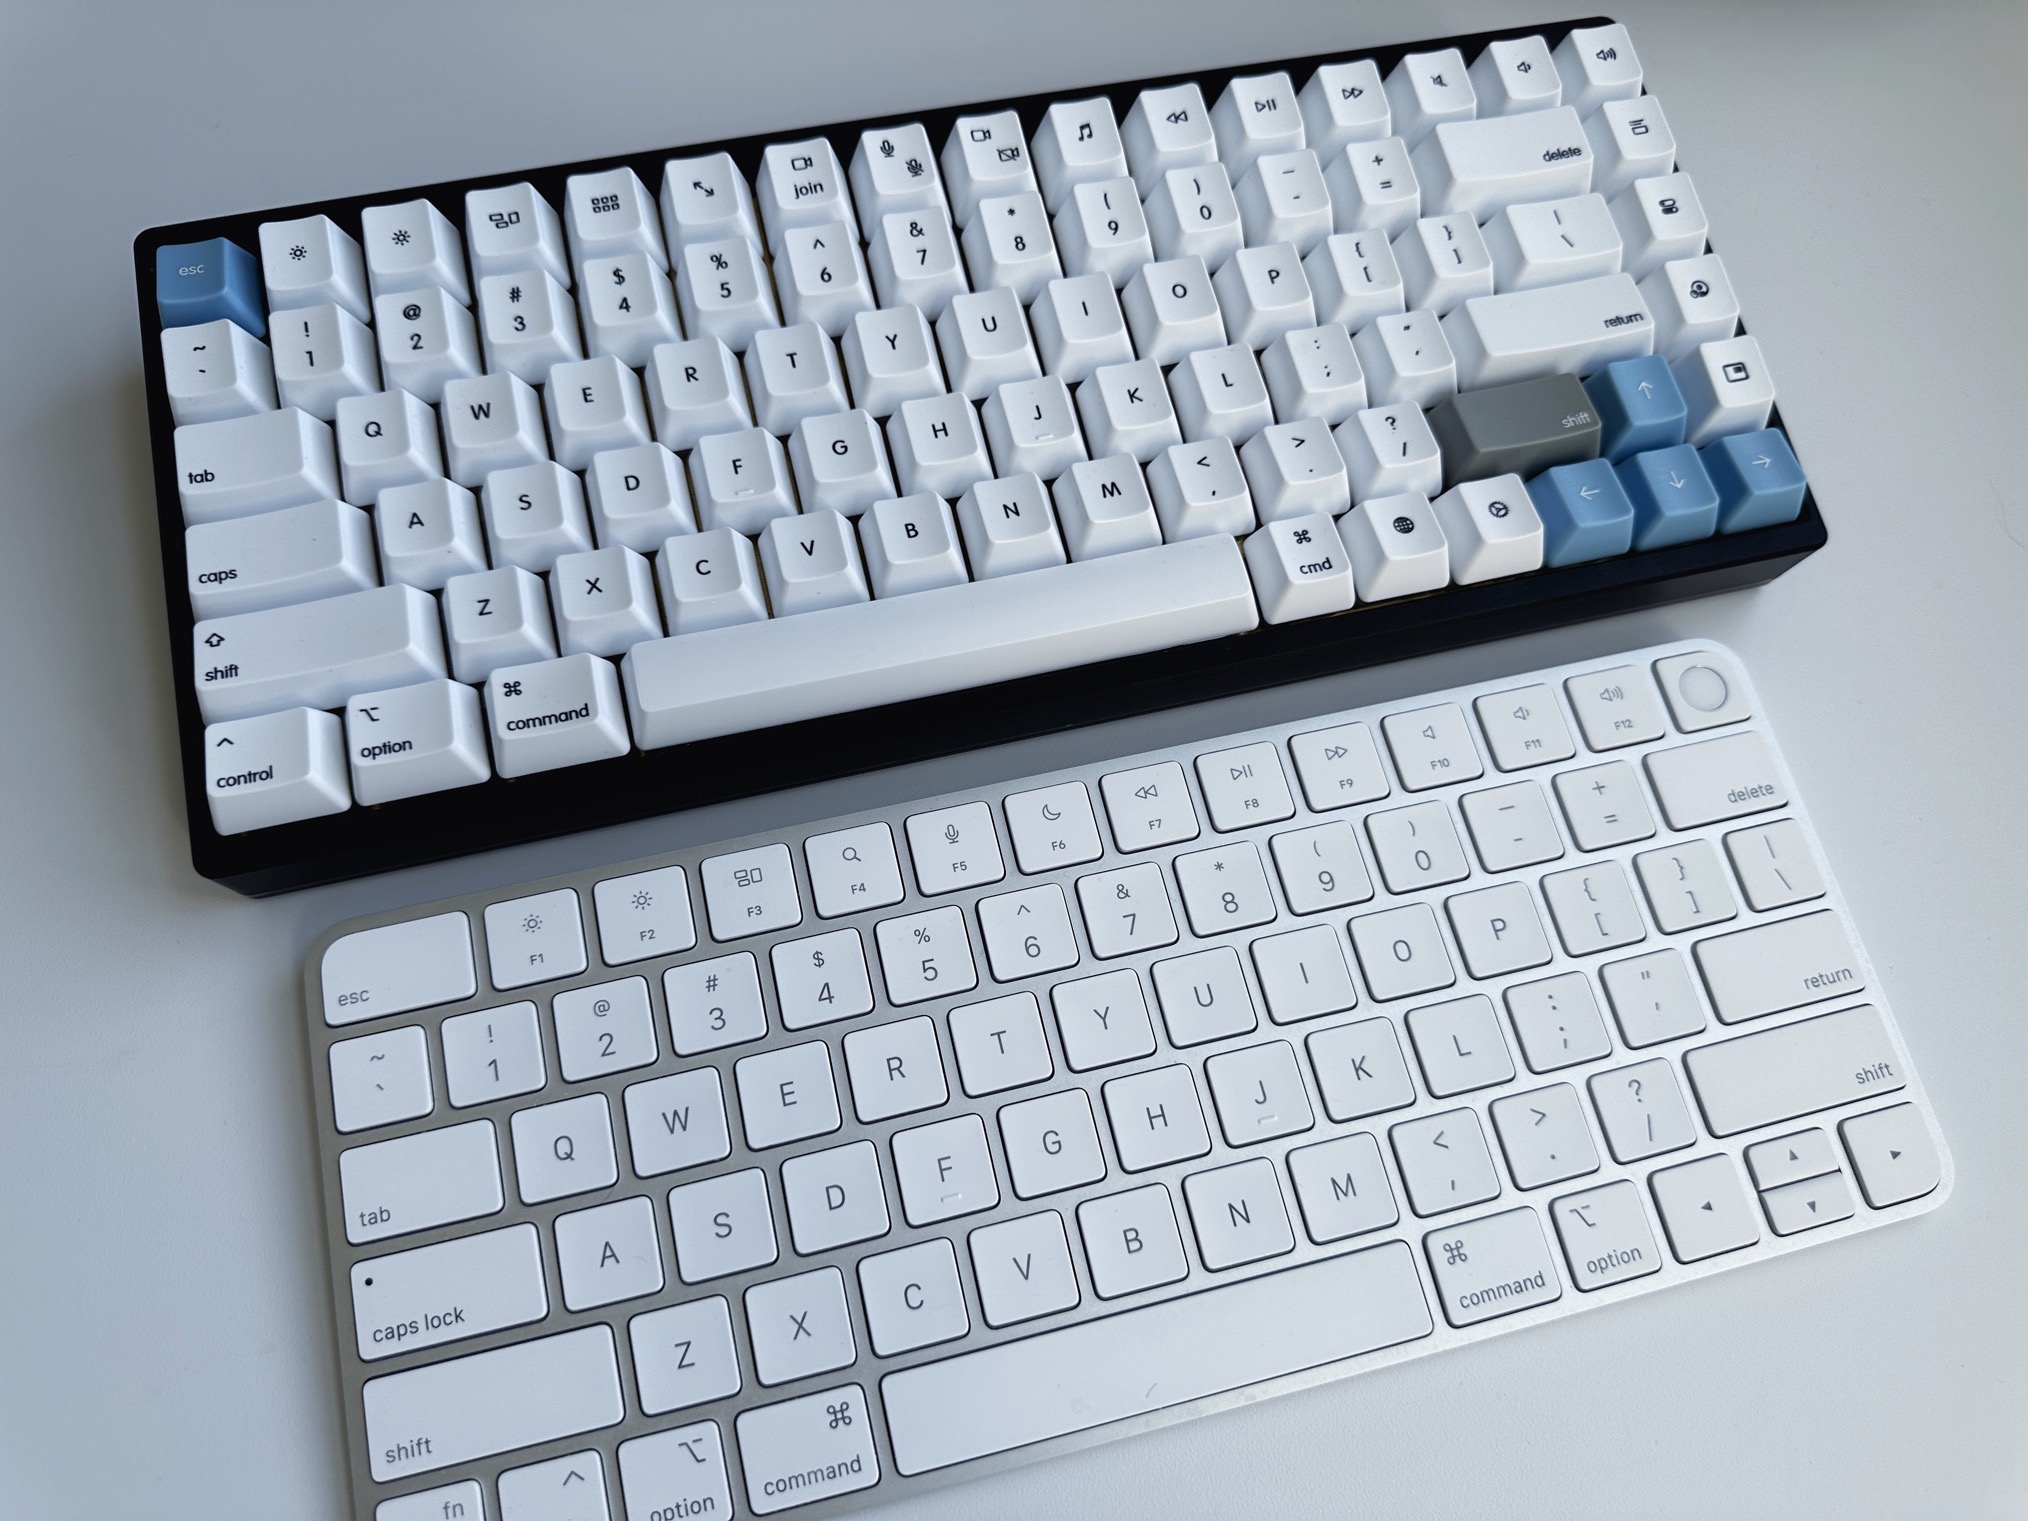
The outcome was better than expected! It compares really well to the magic keyboard. It's not identical, but pretty close. My main goal is that the modifier and function keys I use most match the layout and design of the magic keyboard. That way, I could easily switch back and forth from both without changing my mental model.
Create your own
If you want to order your keycaps, I tried to list the general steps and some tips I wish I had known before ordering. Alternatively, if you want to get custom keycaps for your Mac without the hassle, I found some great options on Etsy that are great as well, although you won’t get the same level of customization.
Download and customize my design
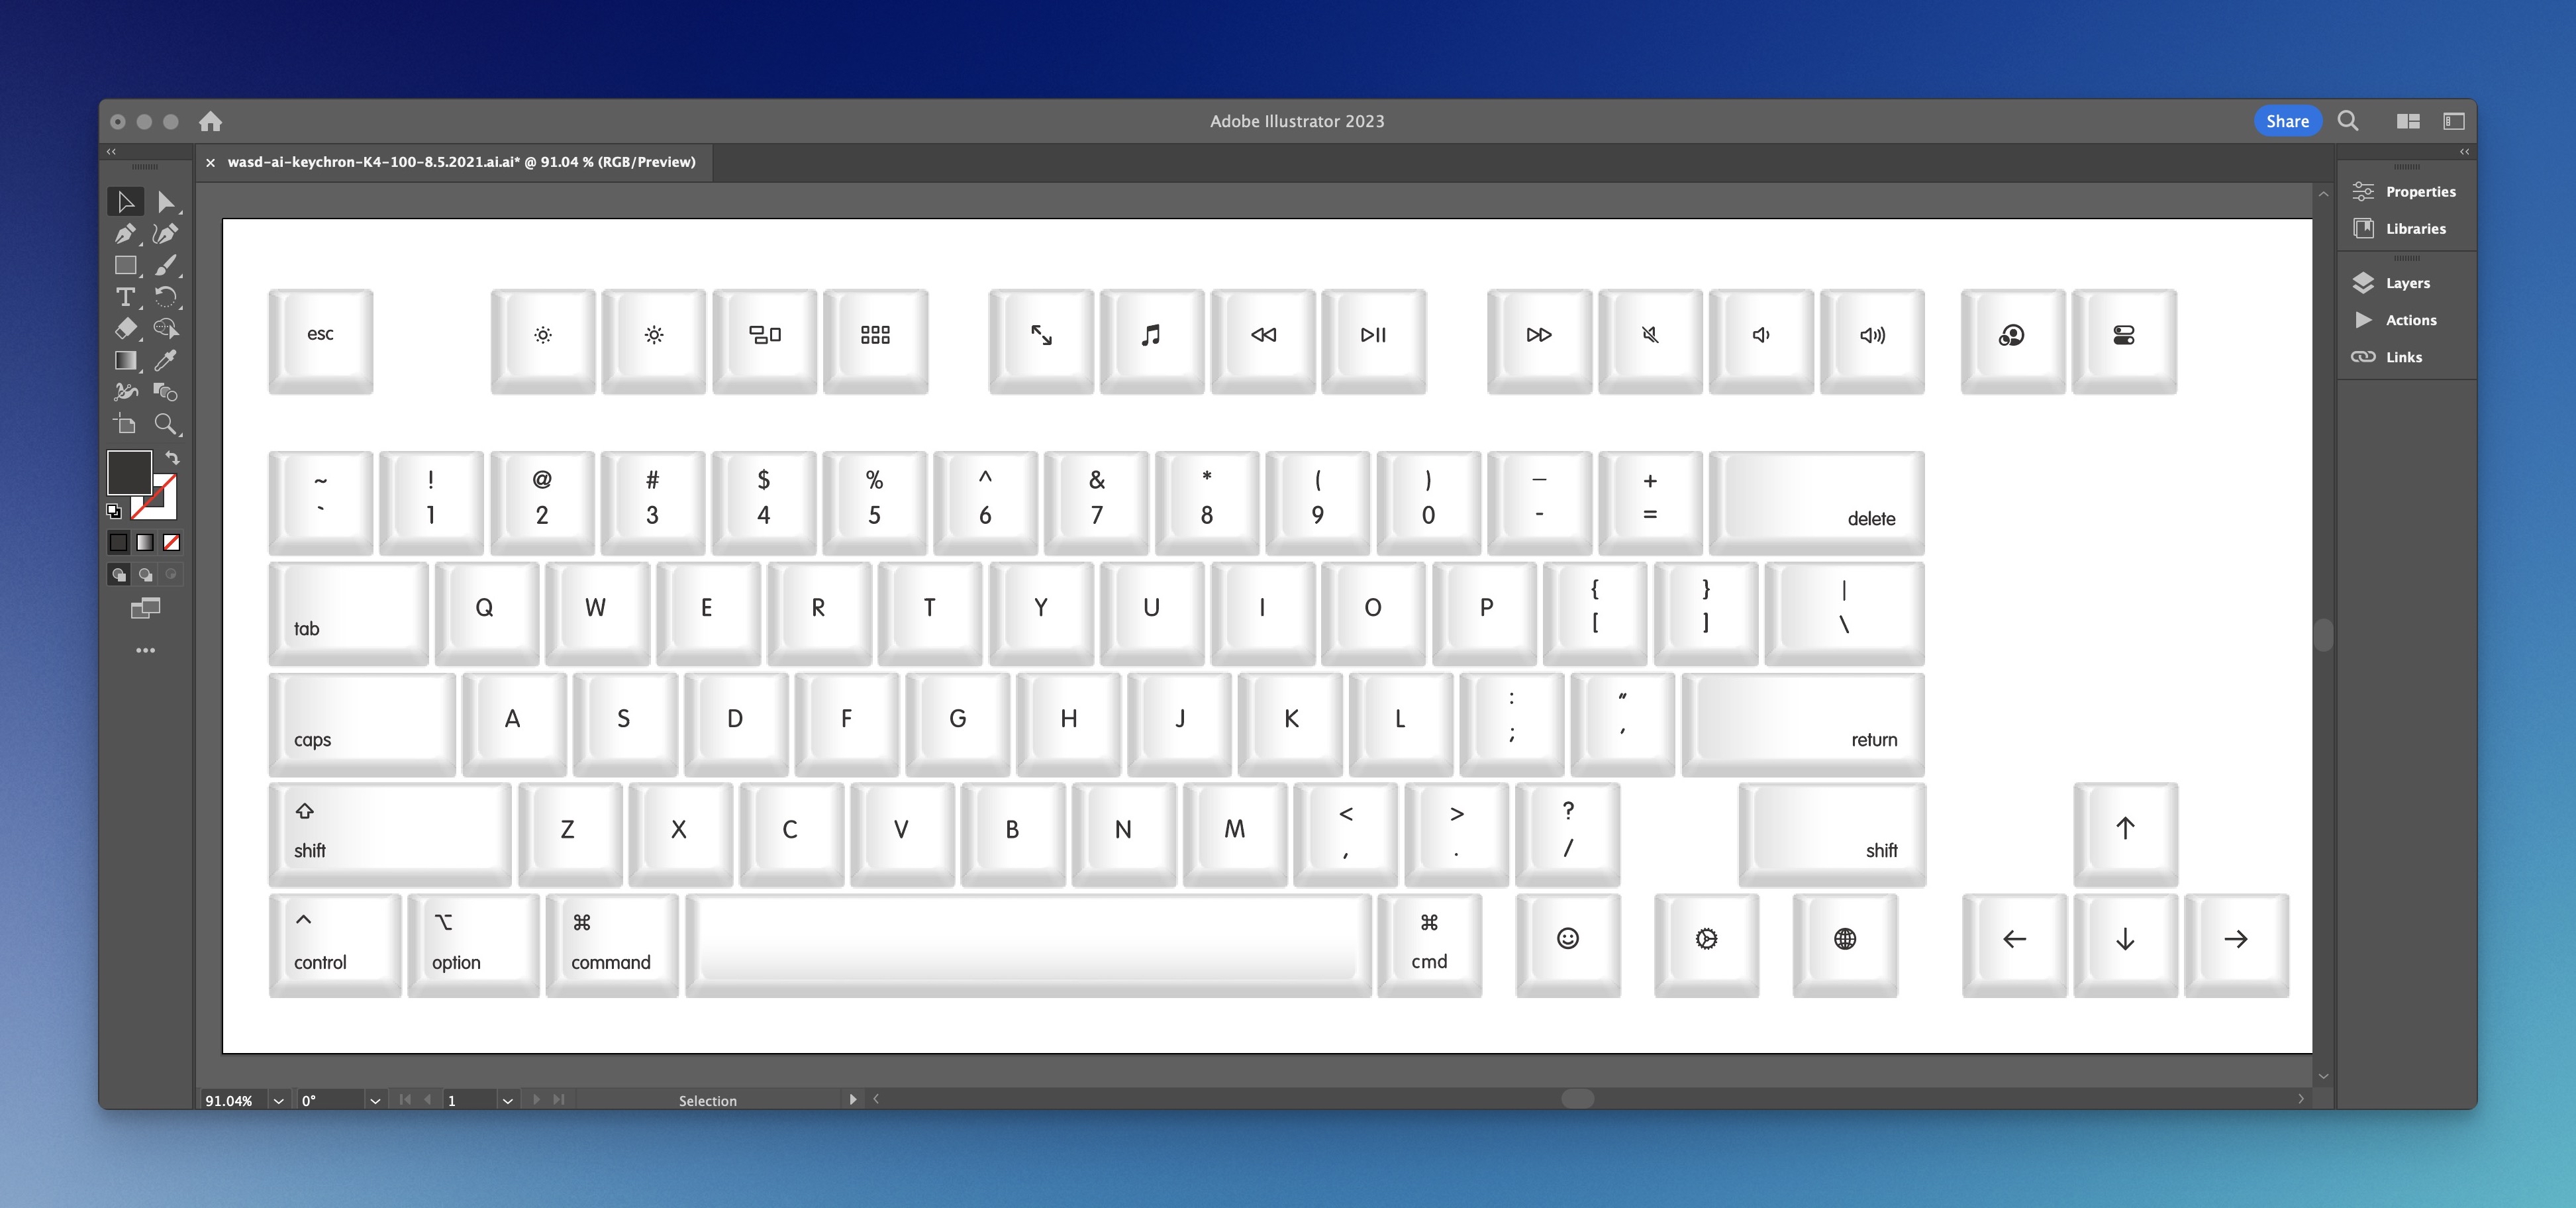
If you're interested in placing an order, feel free to use my template and personalize it according to your preferences:
I know Adobe Illustrator can be daunting, even to designers nowadays, because we all moved to Figma. If you need help setting up the file, let me know, I'm happy to help. You will notice that the design is all white. That's because you select the color for each key on the vendor's website.
Select and order from a keyboard/keycap vendor
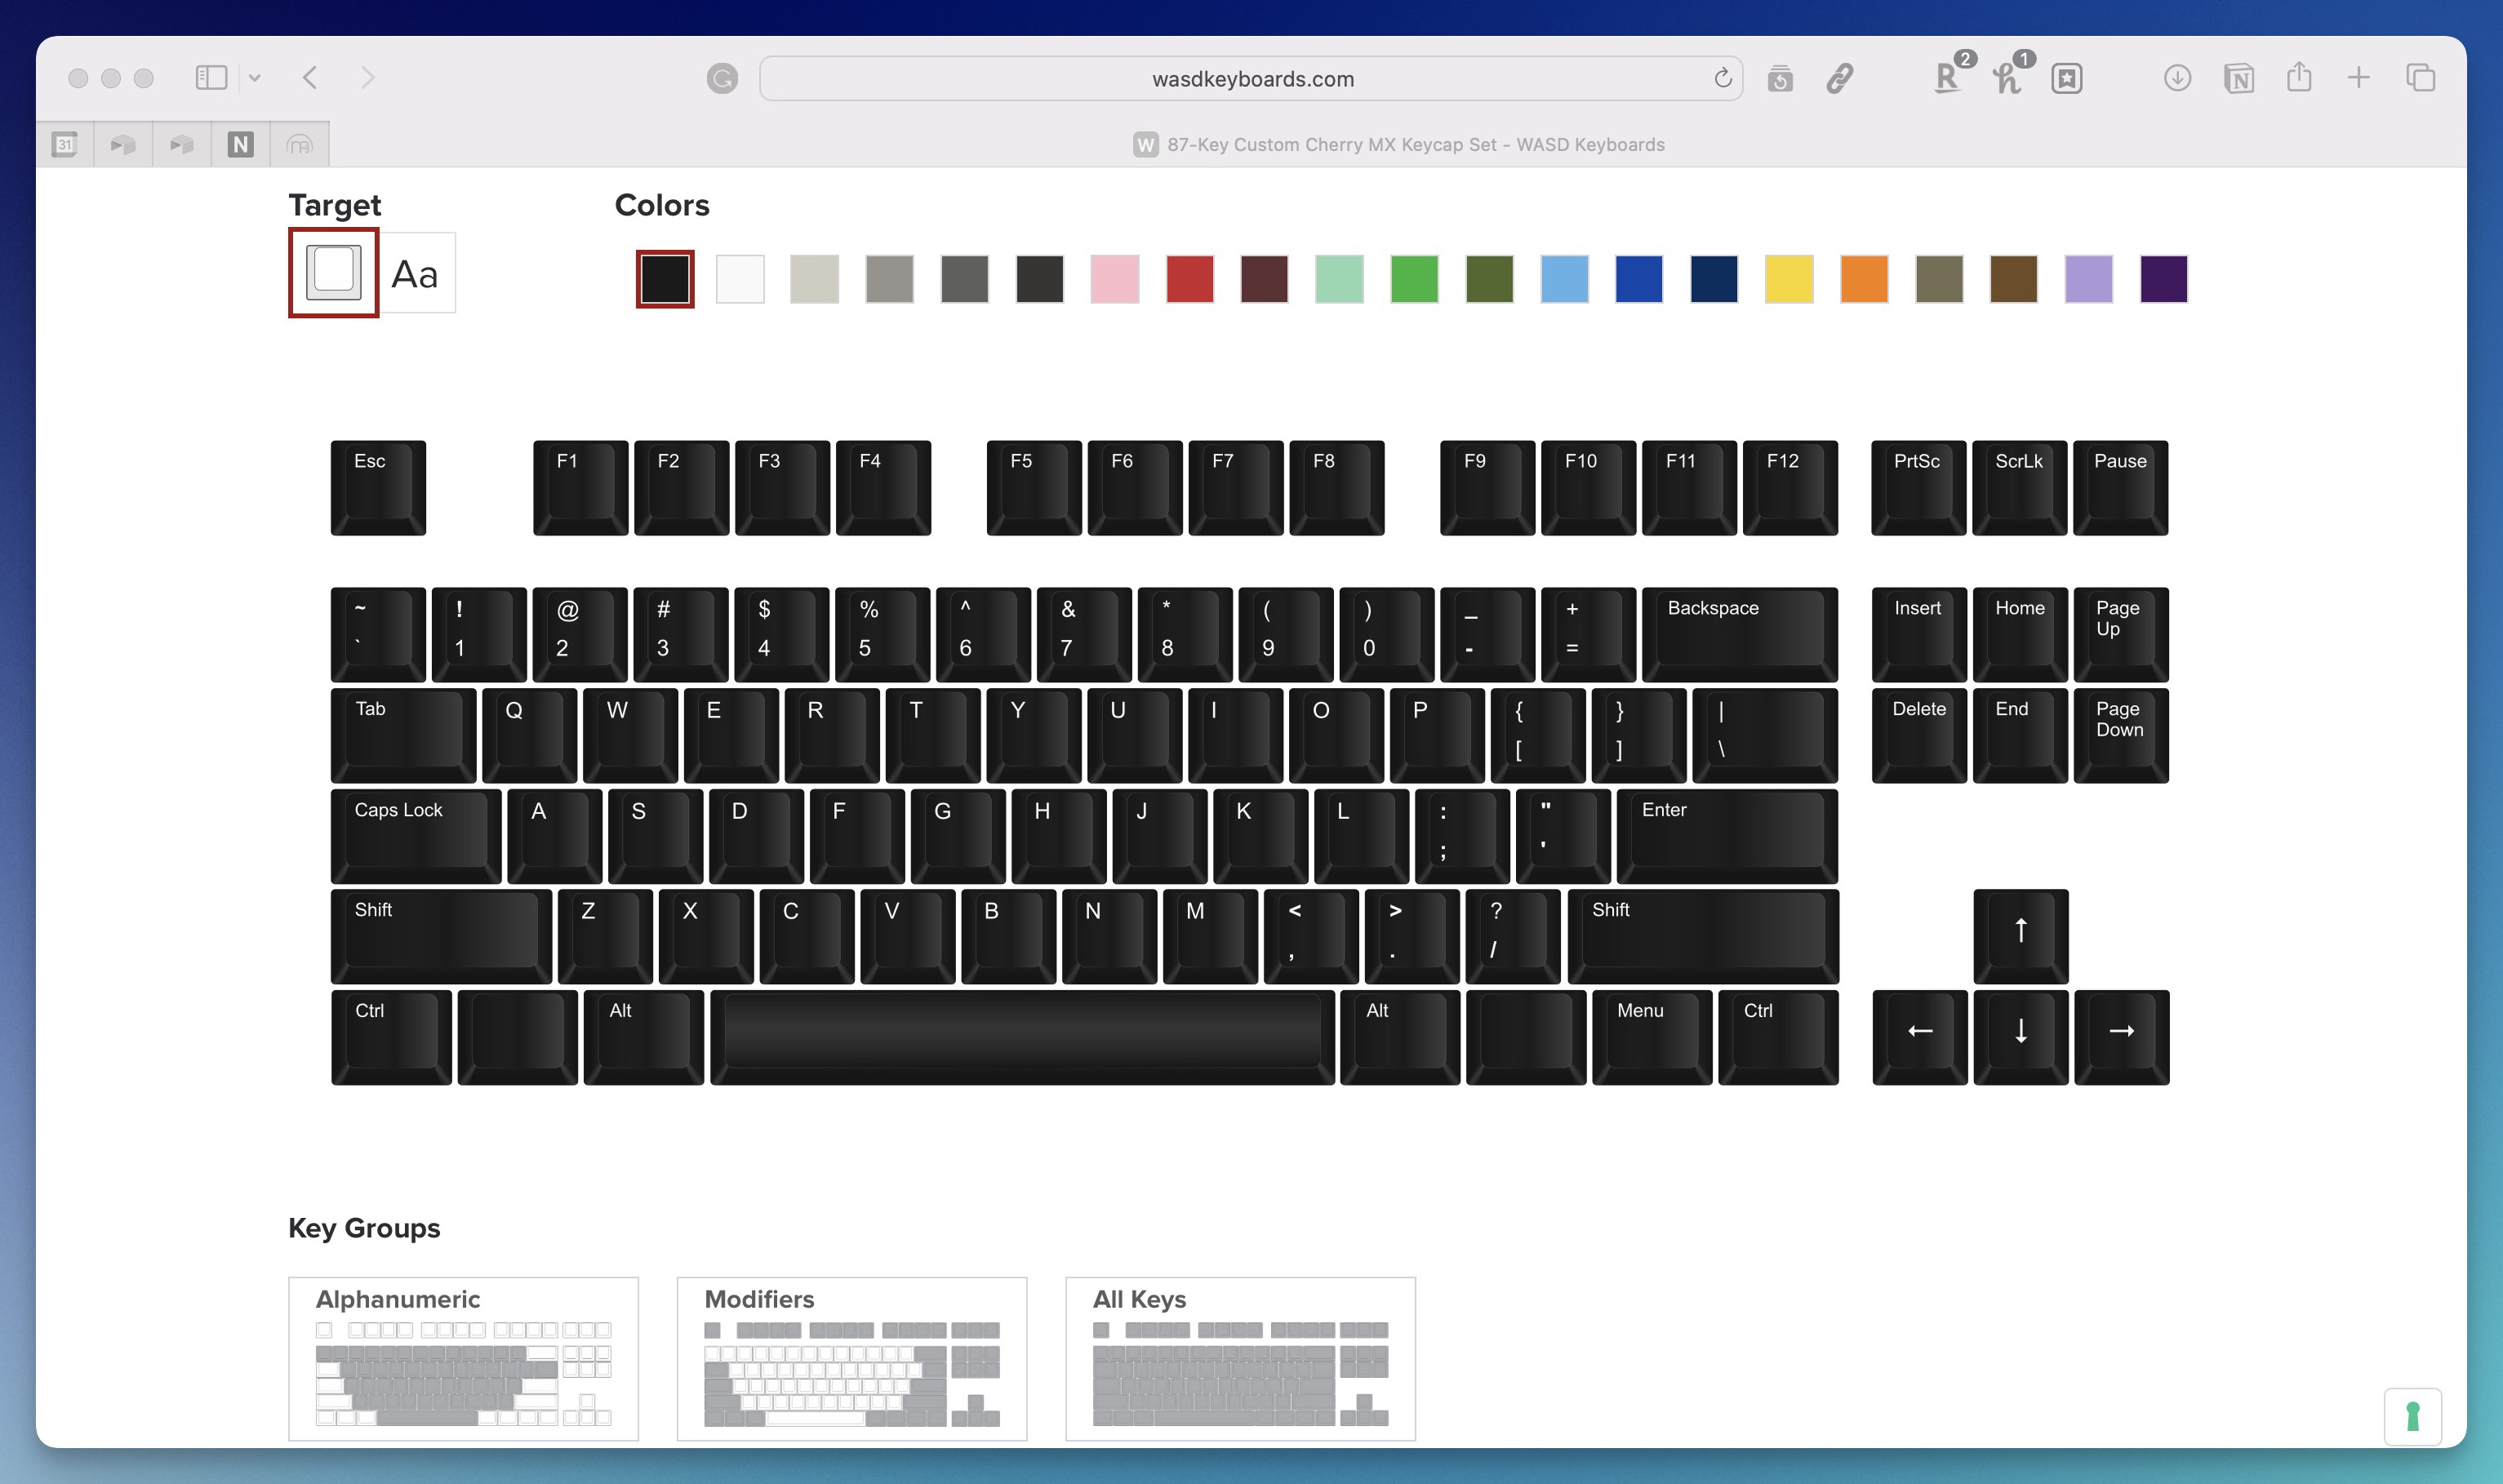
You have the option to either buy a full keyboard with customized keys or just order the keycaps. Personally, I chose to go with just the keycaps since I already had a keyboard. After considering a few keycaps vendors, I ultimately decided to purchase from WASD. I chose them because they had an impressive variety of keycap colors for customization and higher-quality keycap materials compared to other vendors.
Here are other good vendors I found for printing custom keycaps:
When uploading your keycap designs, it’s essential to remember that each vendor may require their own unique template. Be prepared to use these templates when submitting your designs. Additionally, if you're only looking to purchase keycaps, be sure to select the correct keyboard layout to ensure a perfect fit.
Install and map your keys to your desired functions

Once you have installed your beautiful new keycaps, you must map your function and custom keys to the desired actions. I used Via, which is a web, but if you want a native app, you can also use Karabiner-Elements. One cool with with Via is that you can even map keys to control the keyboard LED lights.
Other alternatives
If you want to get keycaps for your Mac without the hassle, look no further. During my research for this post, I came across some great options on Etsy that are good enough to bypass this process altogether.
Keycap's Design Details
Designing the keycaps took a few hours of struggle with Illustrator. Most of the time was spent ensuring all the keys were correctly aligned and had consistent sizes. Thankfully WASD's template offers helpful guides. This GitHub post by Yuchen Wang helped me a lot to get started.
Font

Close-up of the keycaps font, VAG Rounded.
After some research, I found that Apple keyboards use VAG Rounded, so I decided to use the same one for my keycaps. I tried to use SF Symbols as much as possible for the icons, but I had to create a few custom icons for the function keys.
Modifier Keys
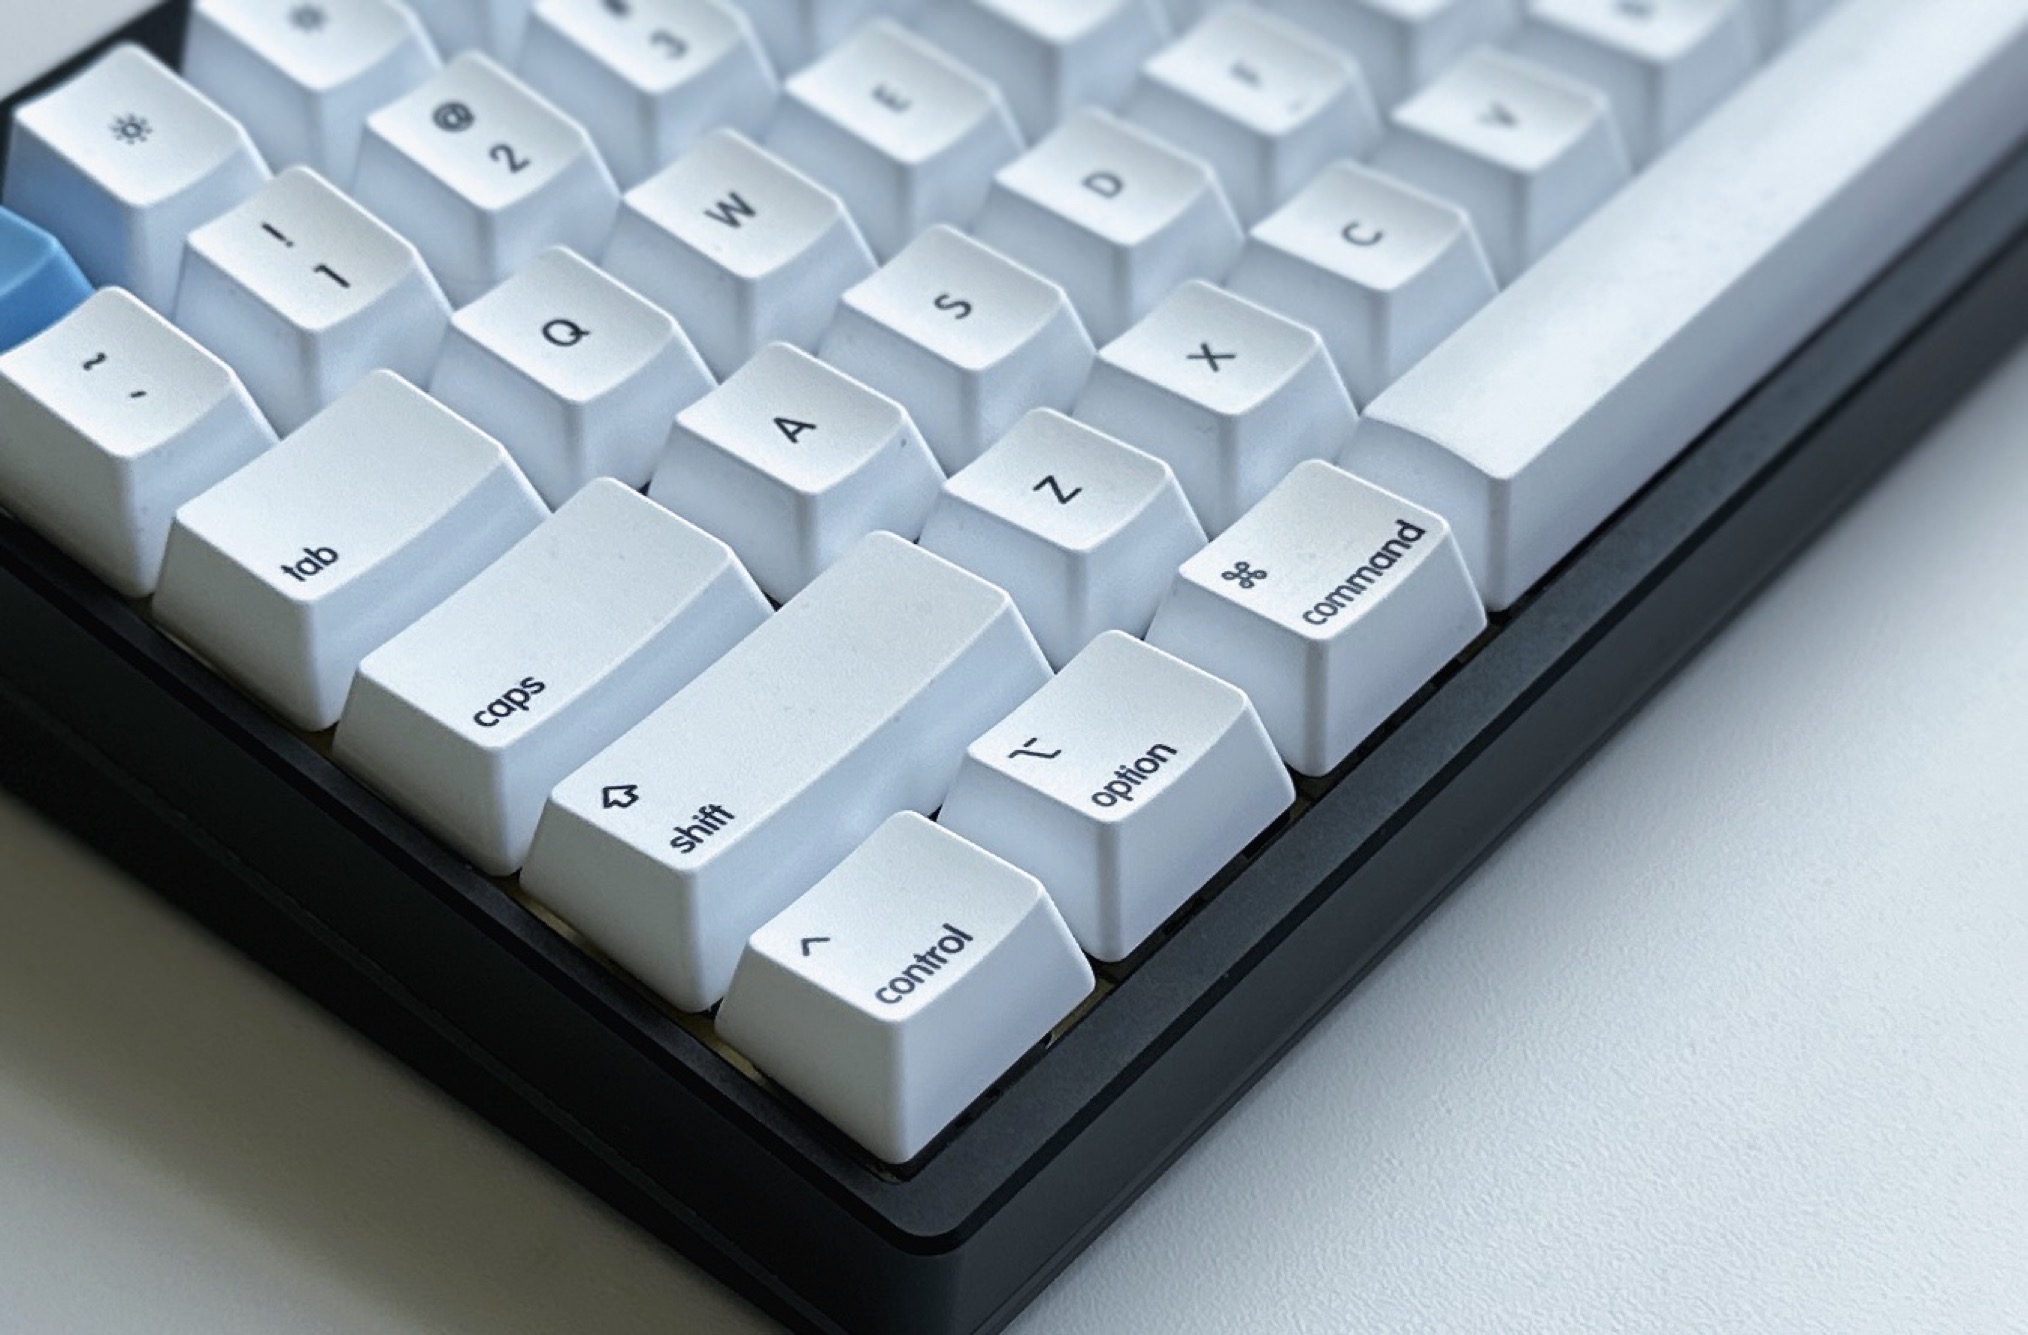
The main reason for wanting keycaps dedicated to Mac was because of my heavy use of modifier keys for keyboard shortcuts. I often use keyboard shortcuts while working and designing, which helps me identify and learn the different key combinations. For the design, I made sure to have both the icon and the name on the keys, which makes it easier to learn new shortcuts, especially those that combine multiple keys. I have to depart from Apple's design a bit because I wanted to add the icon to the shift key.
Function row keys
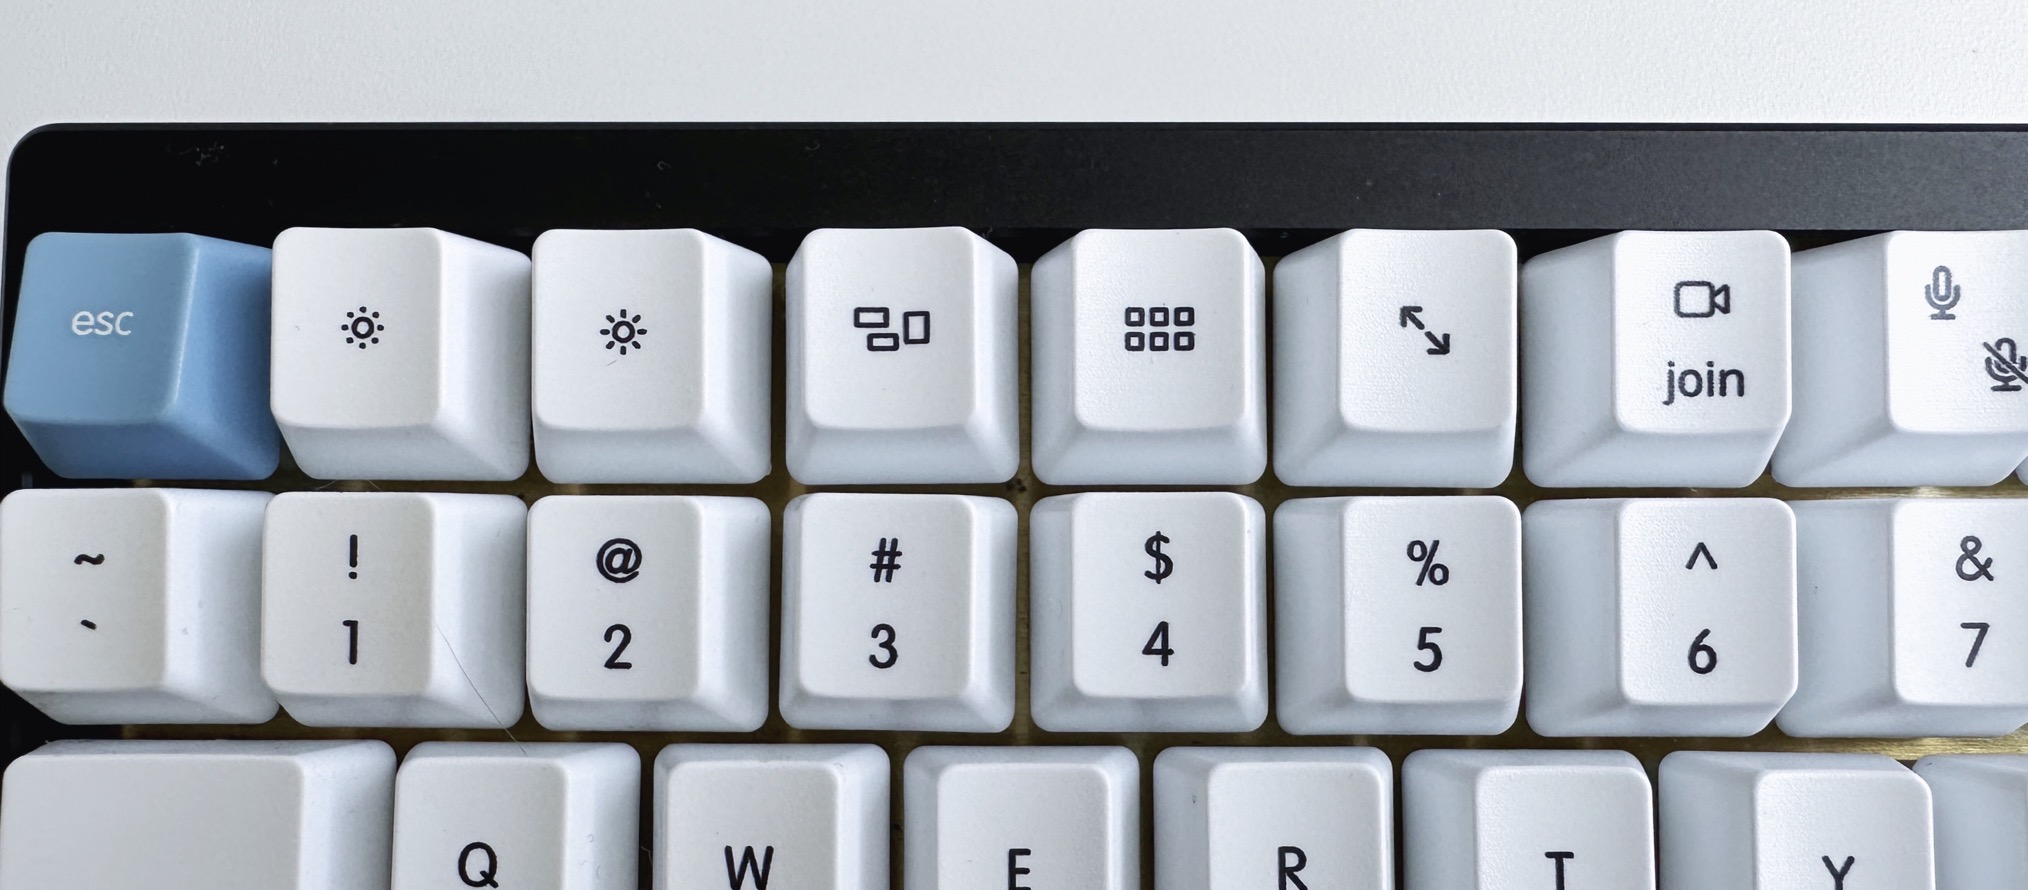
This is where I went crazy and fully customized it to my needs. I swapped a few of the function keys I never used on the Magic Keyboard with custom icons. For example, I created dedicated Zoom control icons because I'm on Zoom calls most of my day. I also added an icon to "show the desktop," as that is a native function I use a lot.
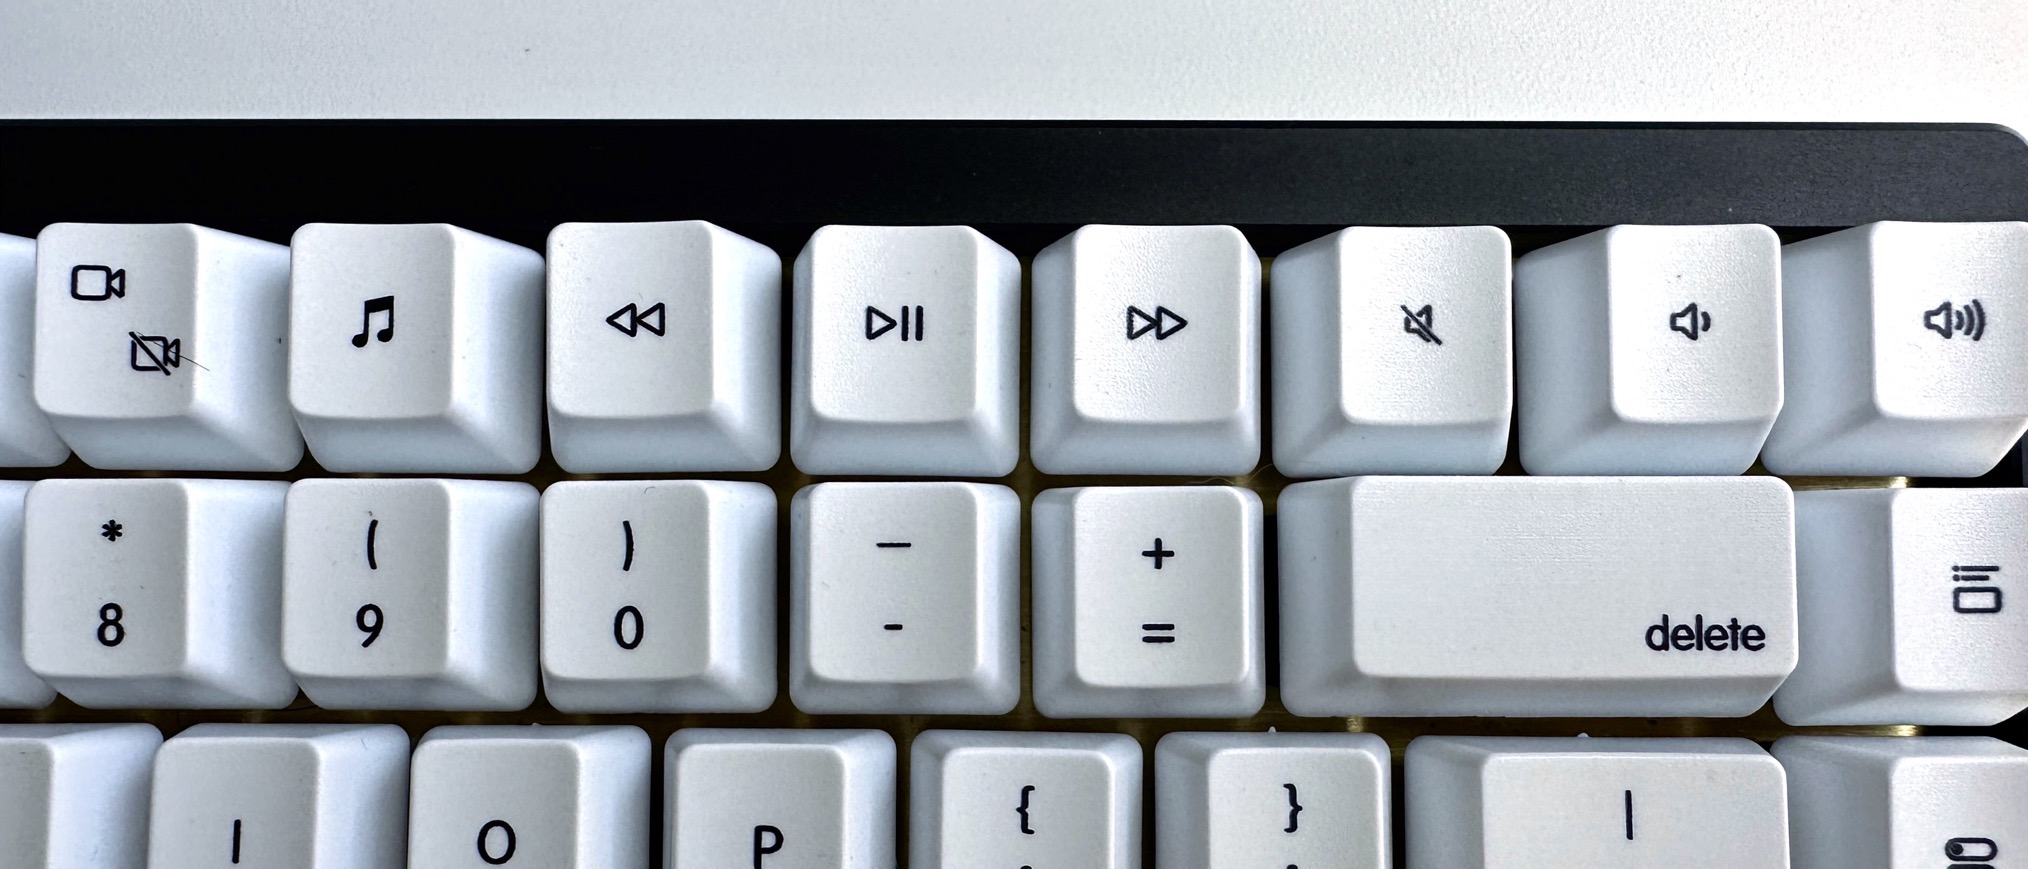
The media keys have to be the ones I use the most, so I had to include them and keep them in familiar places because I already have developed muscle memory for things like skipping and muting. I added an extra key with the music icon to open whichever music app I'm into at the time.
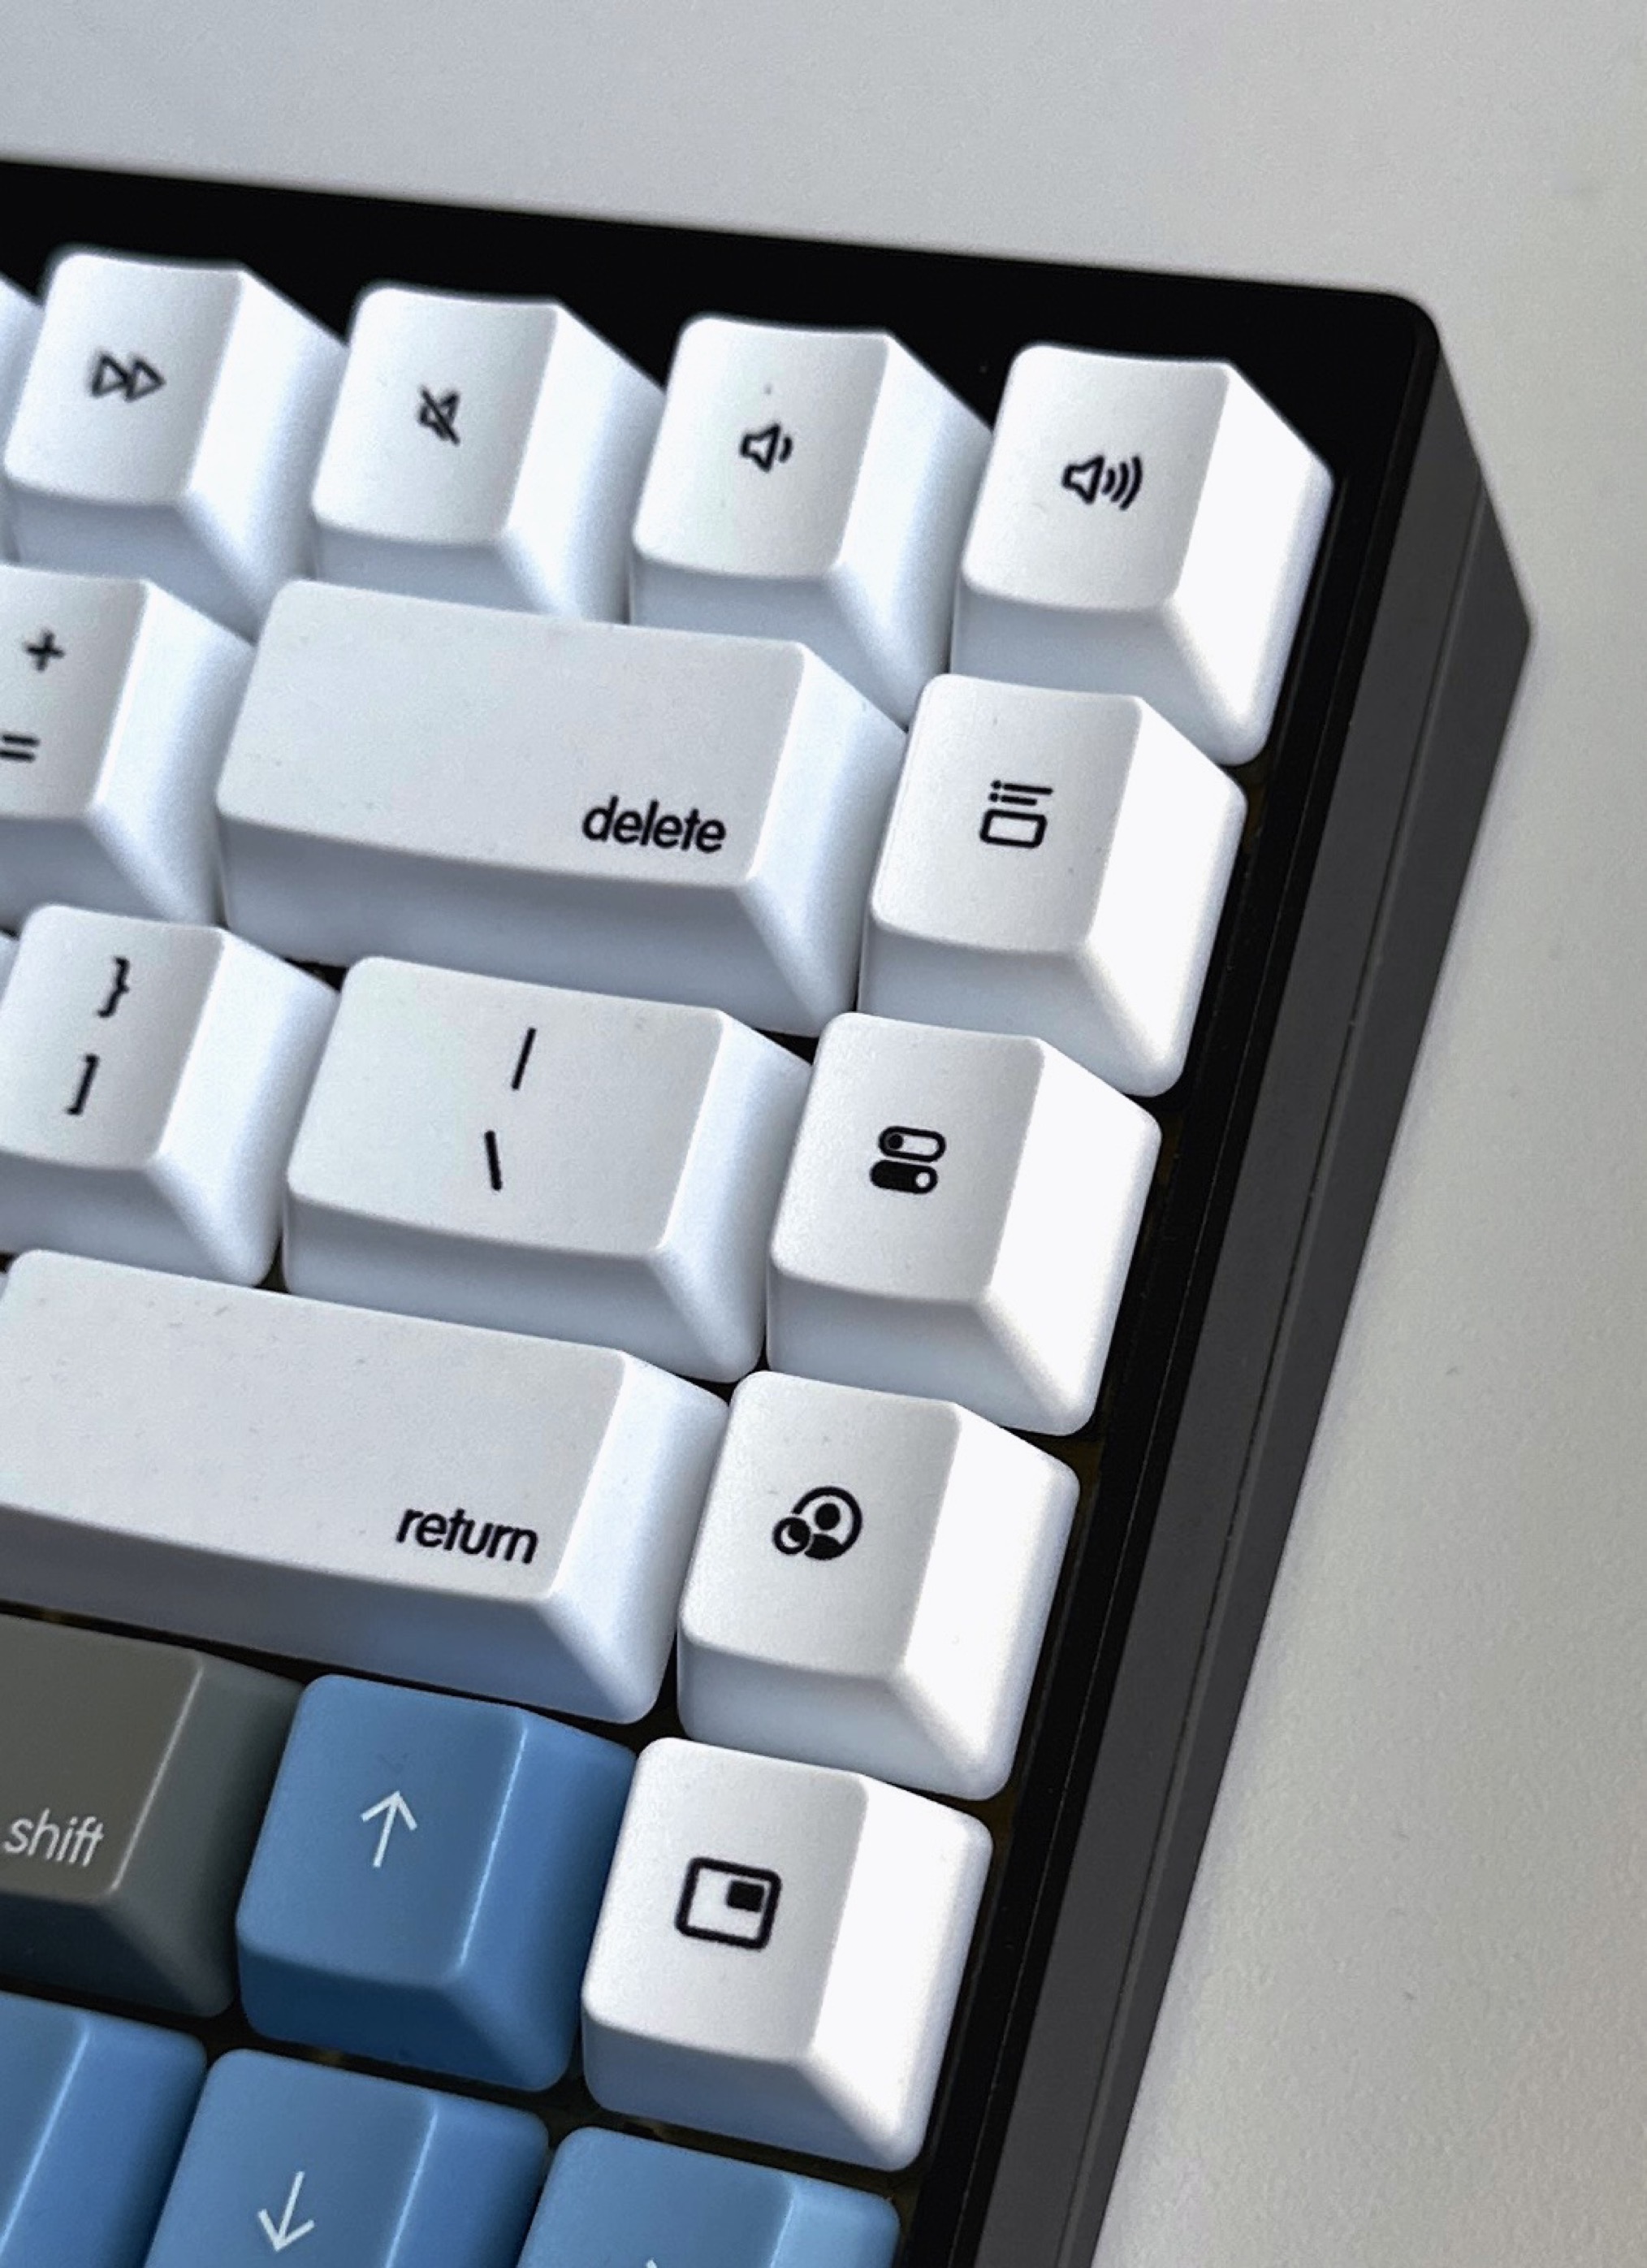
I also created a few extra keys to trigger Mac actions like focus modes, control center, and notification center. These rows can act as a Macro Pad of sorts and can be customized later depending on my workflow.
Arrow keys
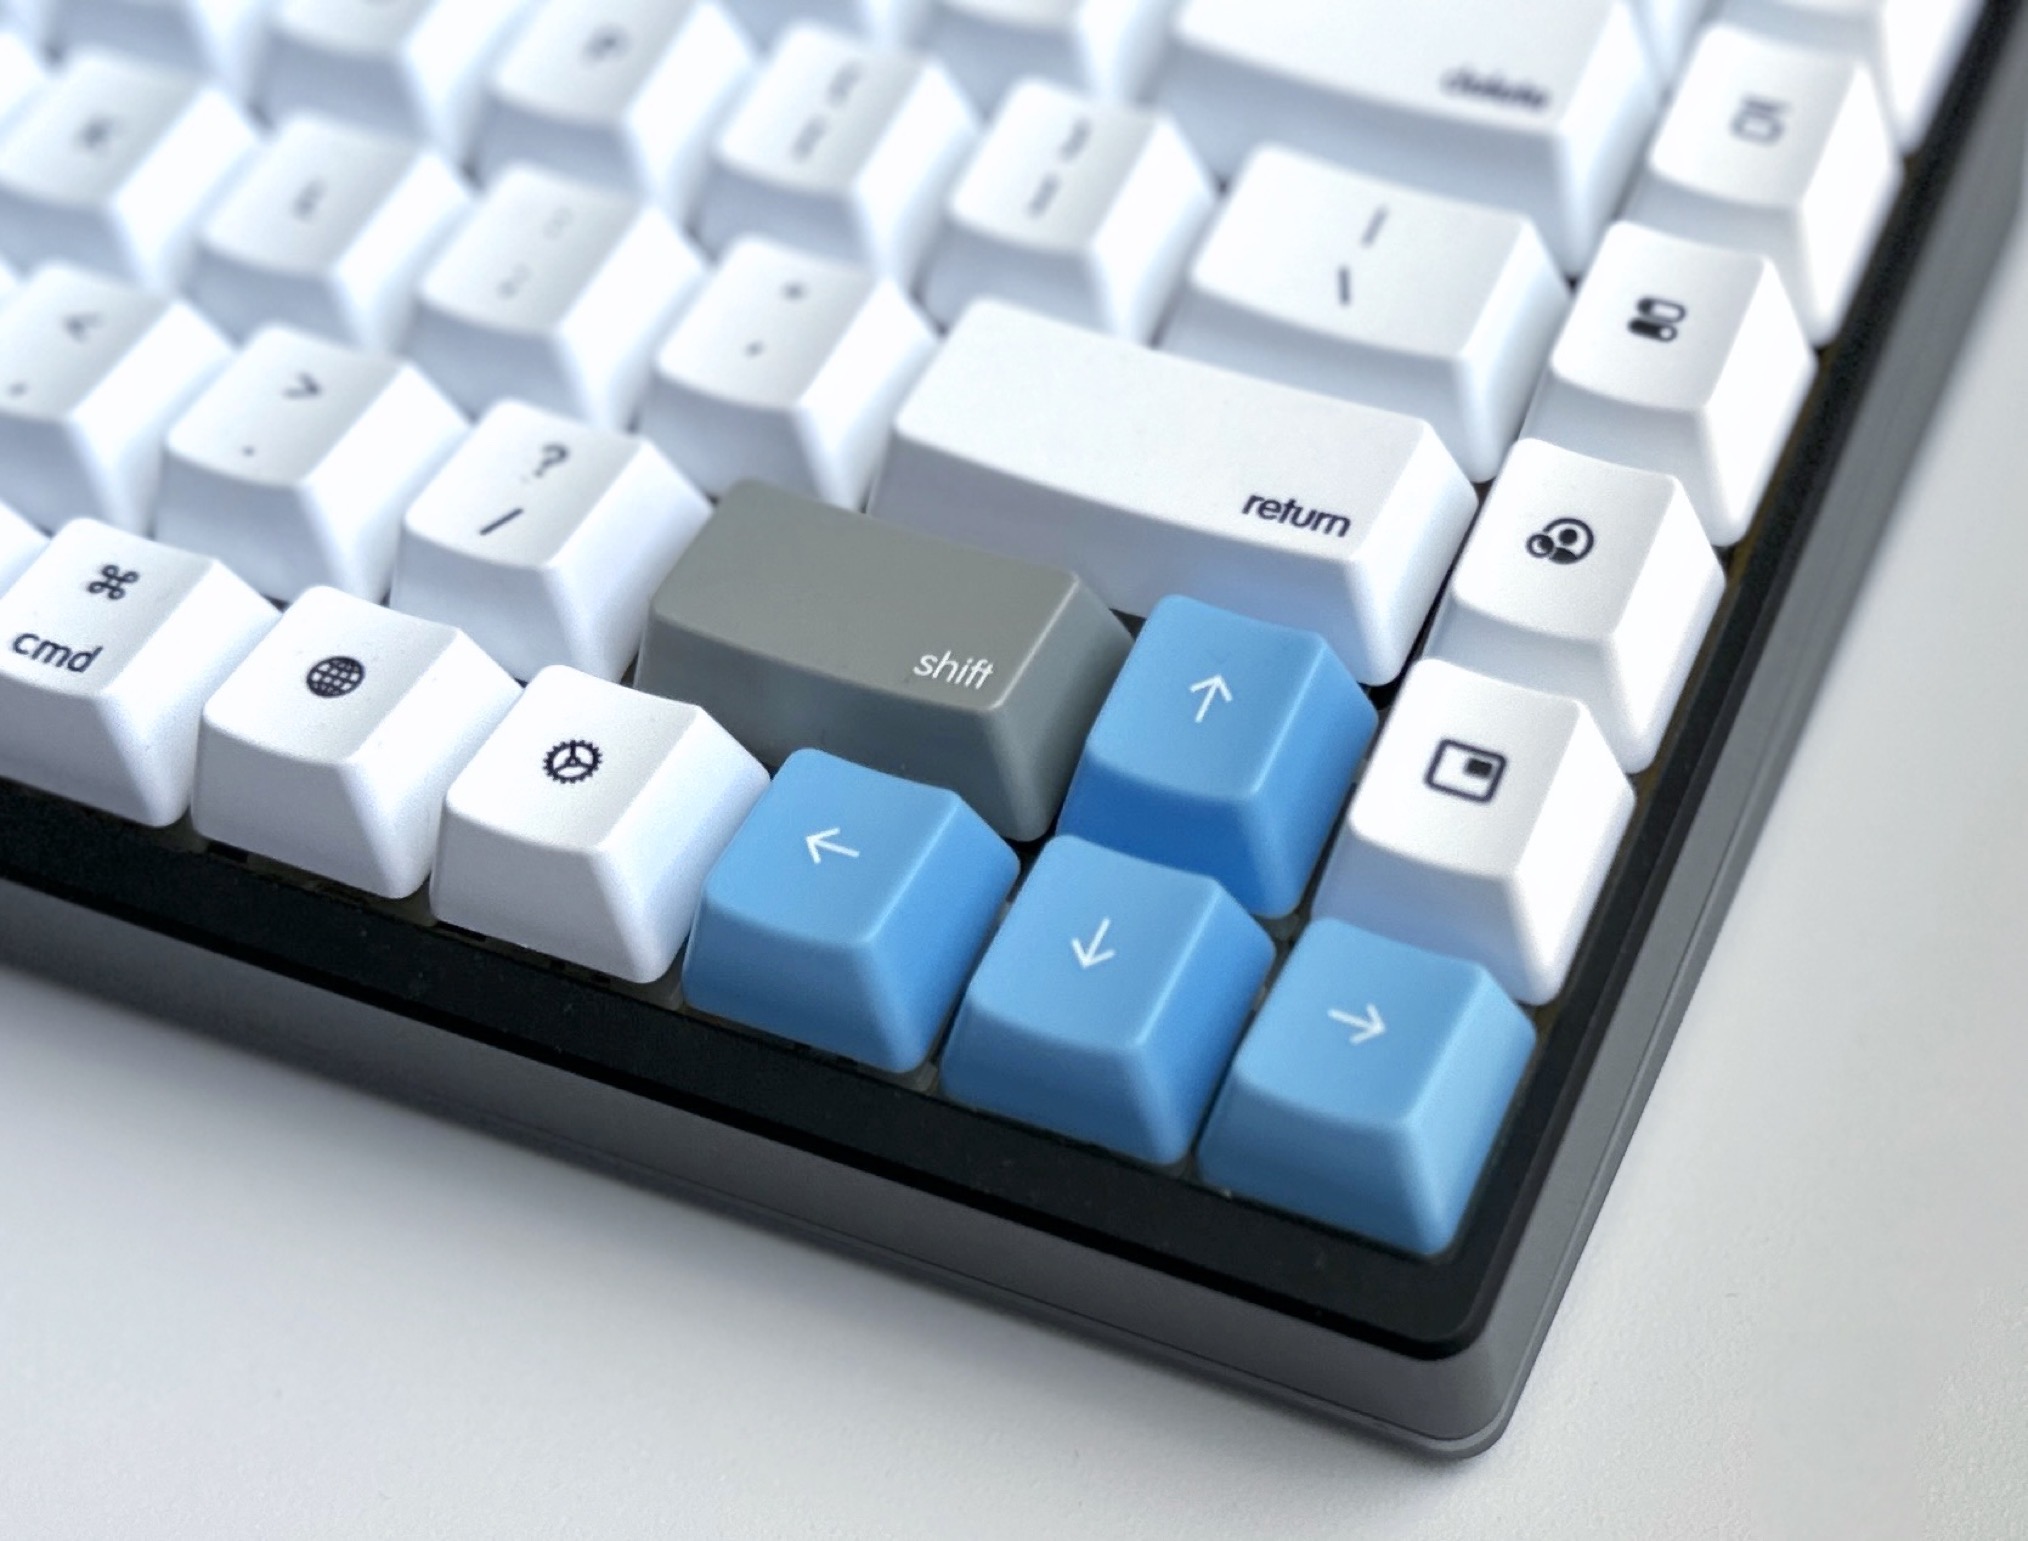
I made the arrow and escaped keys light blue to add a little color and contrast. This is as extreme as I will ever get with color in my setup; it says a lot about me! I was inspired by this Figma keyboard design.
Extra fun keys
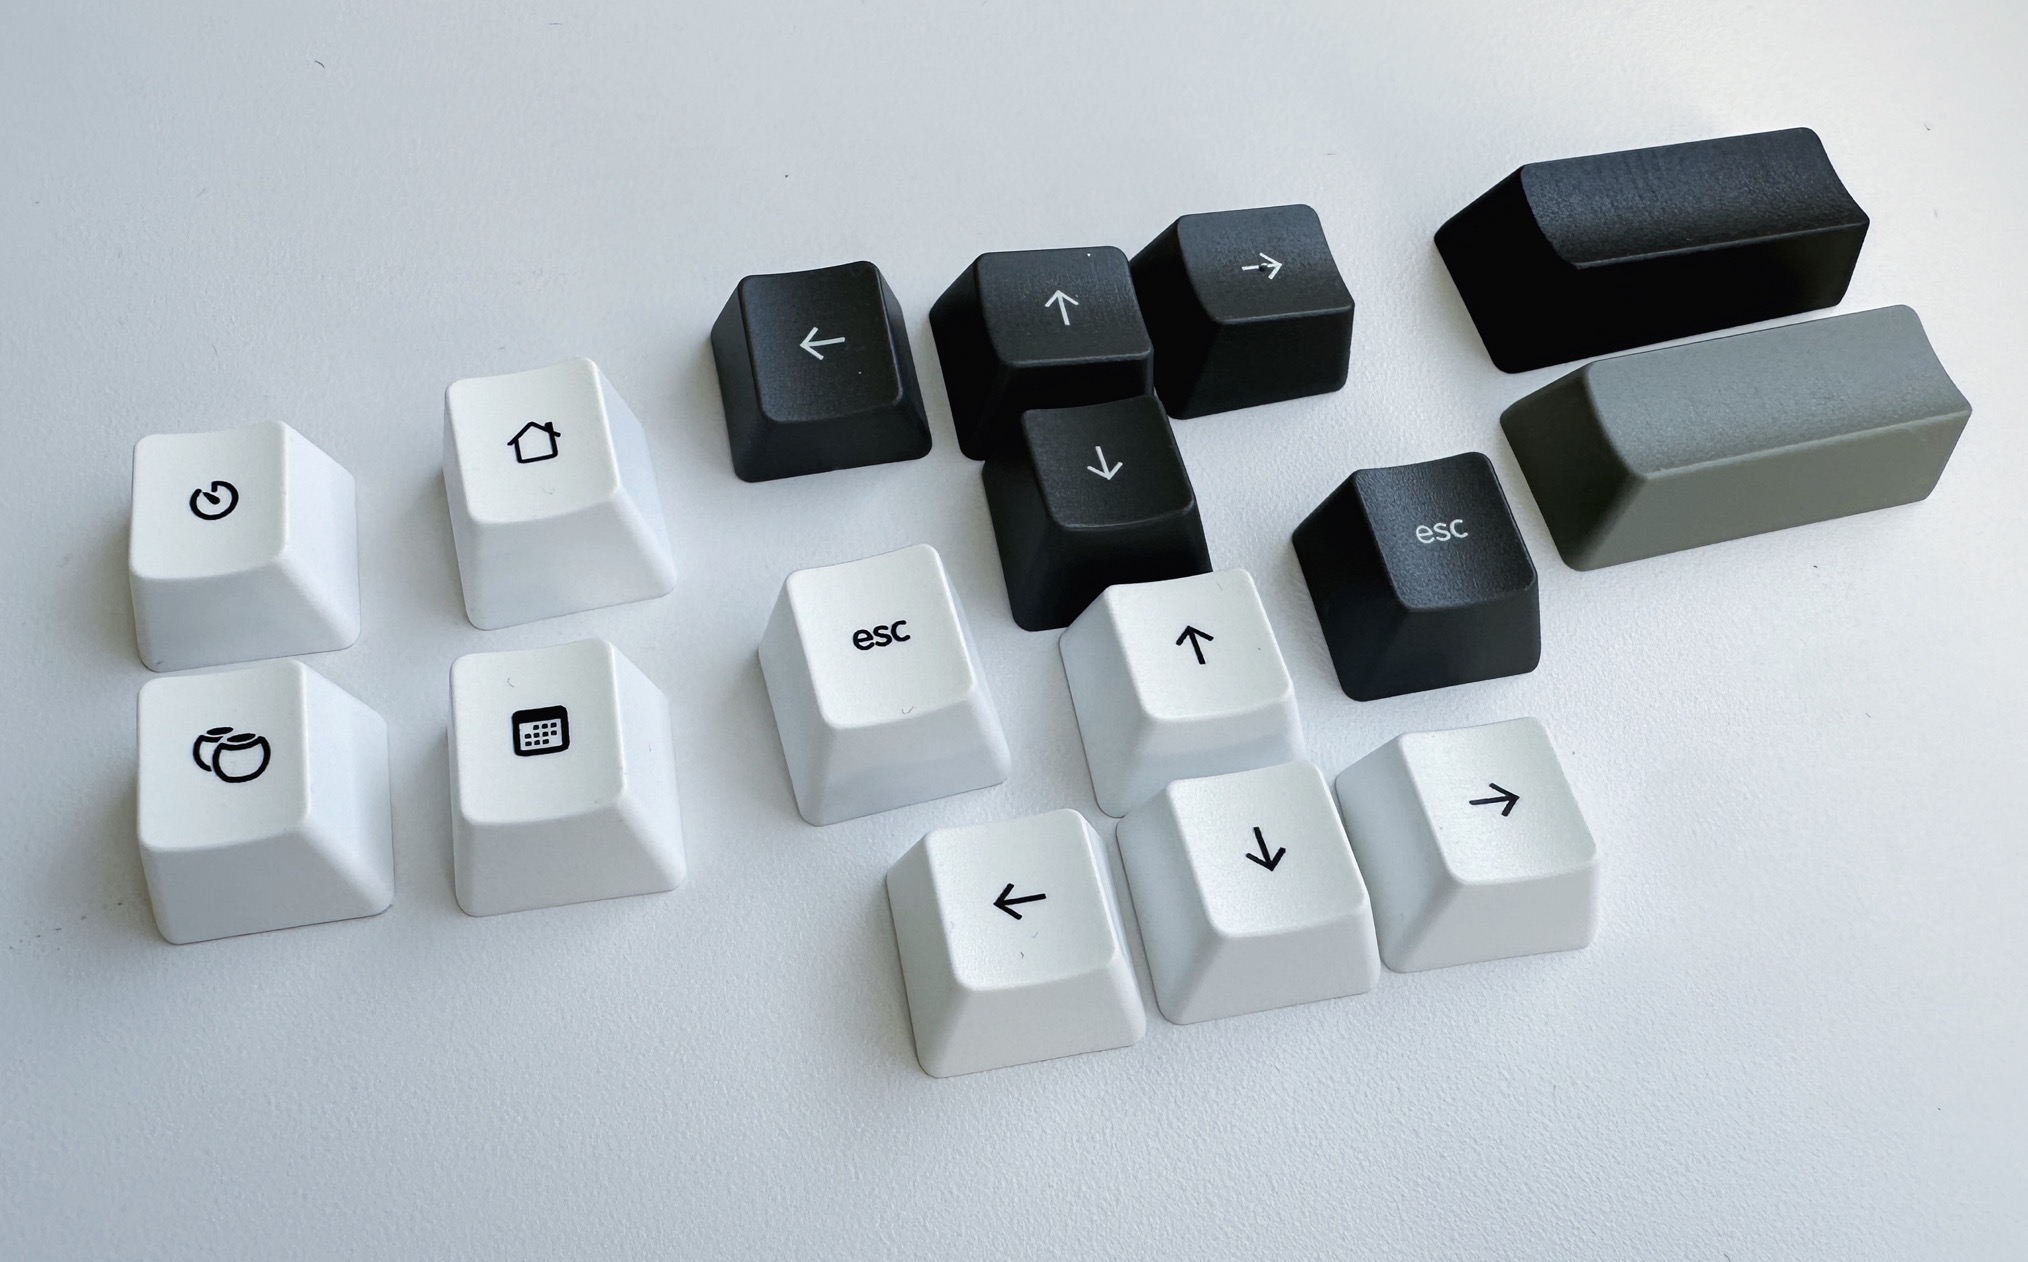
Because WASD did not offer an exact 75% layout, I had to go with the 87 key, which had some spare keys. I used them for a few extra icons; Timery, Homekit, Calendar, and Homepods icon. And because I was indecisive about the color of the arrow keys, I created a few alternatives to be safe.
End result
I think the design turned out really lovely. I'm enjoying the keyboard so far and having a blast customizing it with Siri Shortcuts and dedicated actions. It's perfect for longer forms of writing.
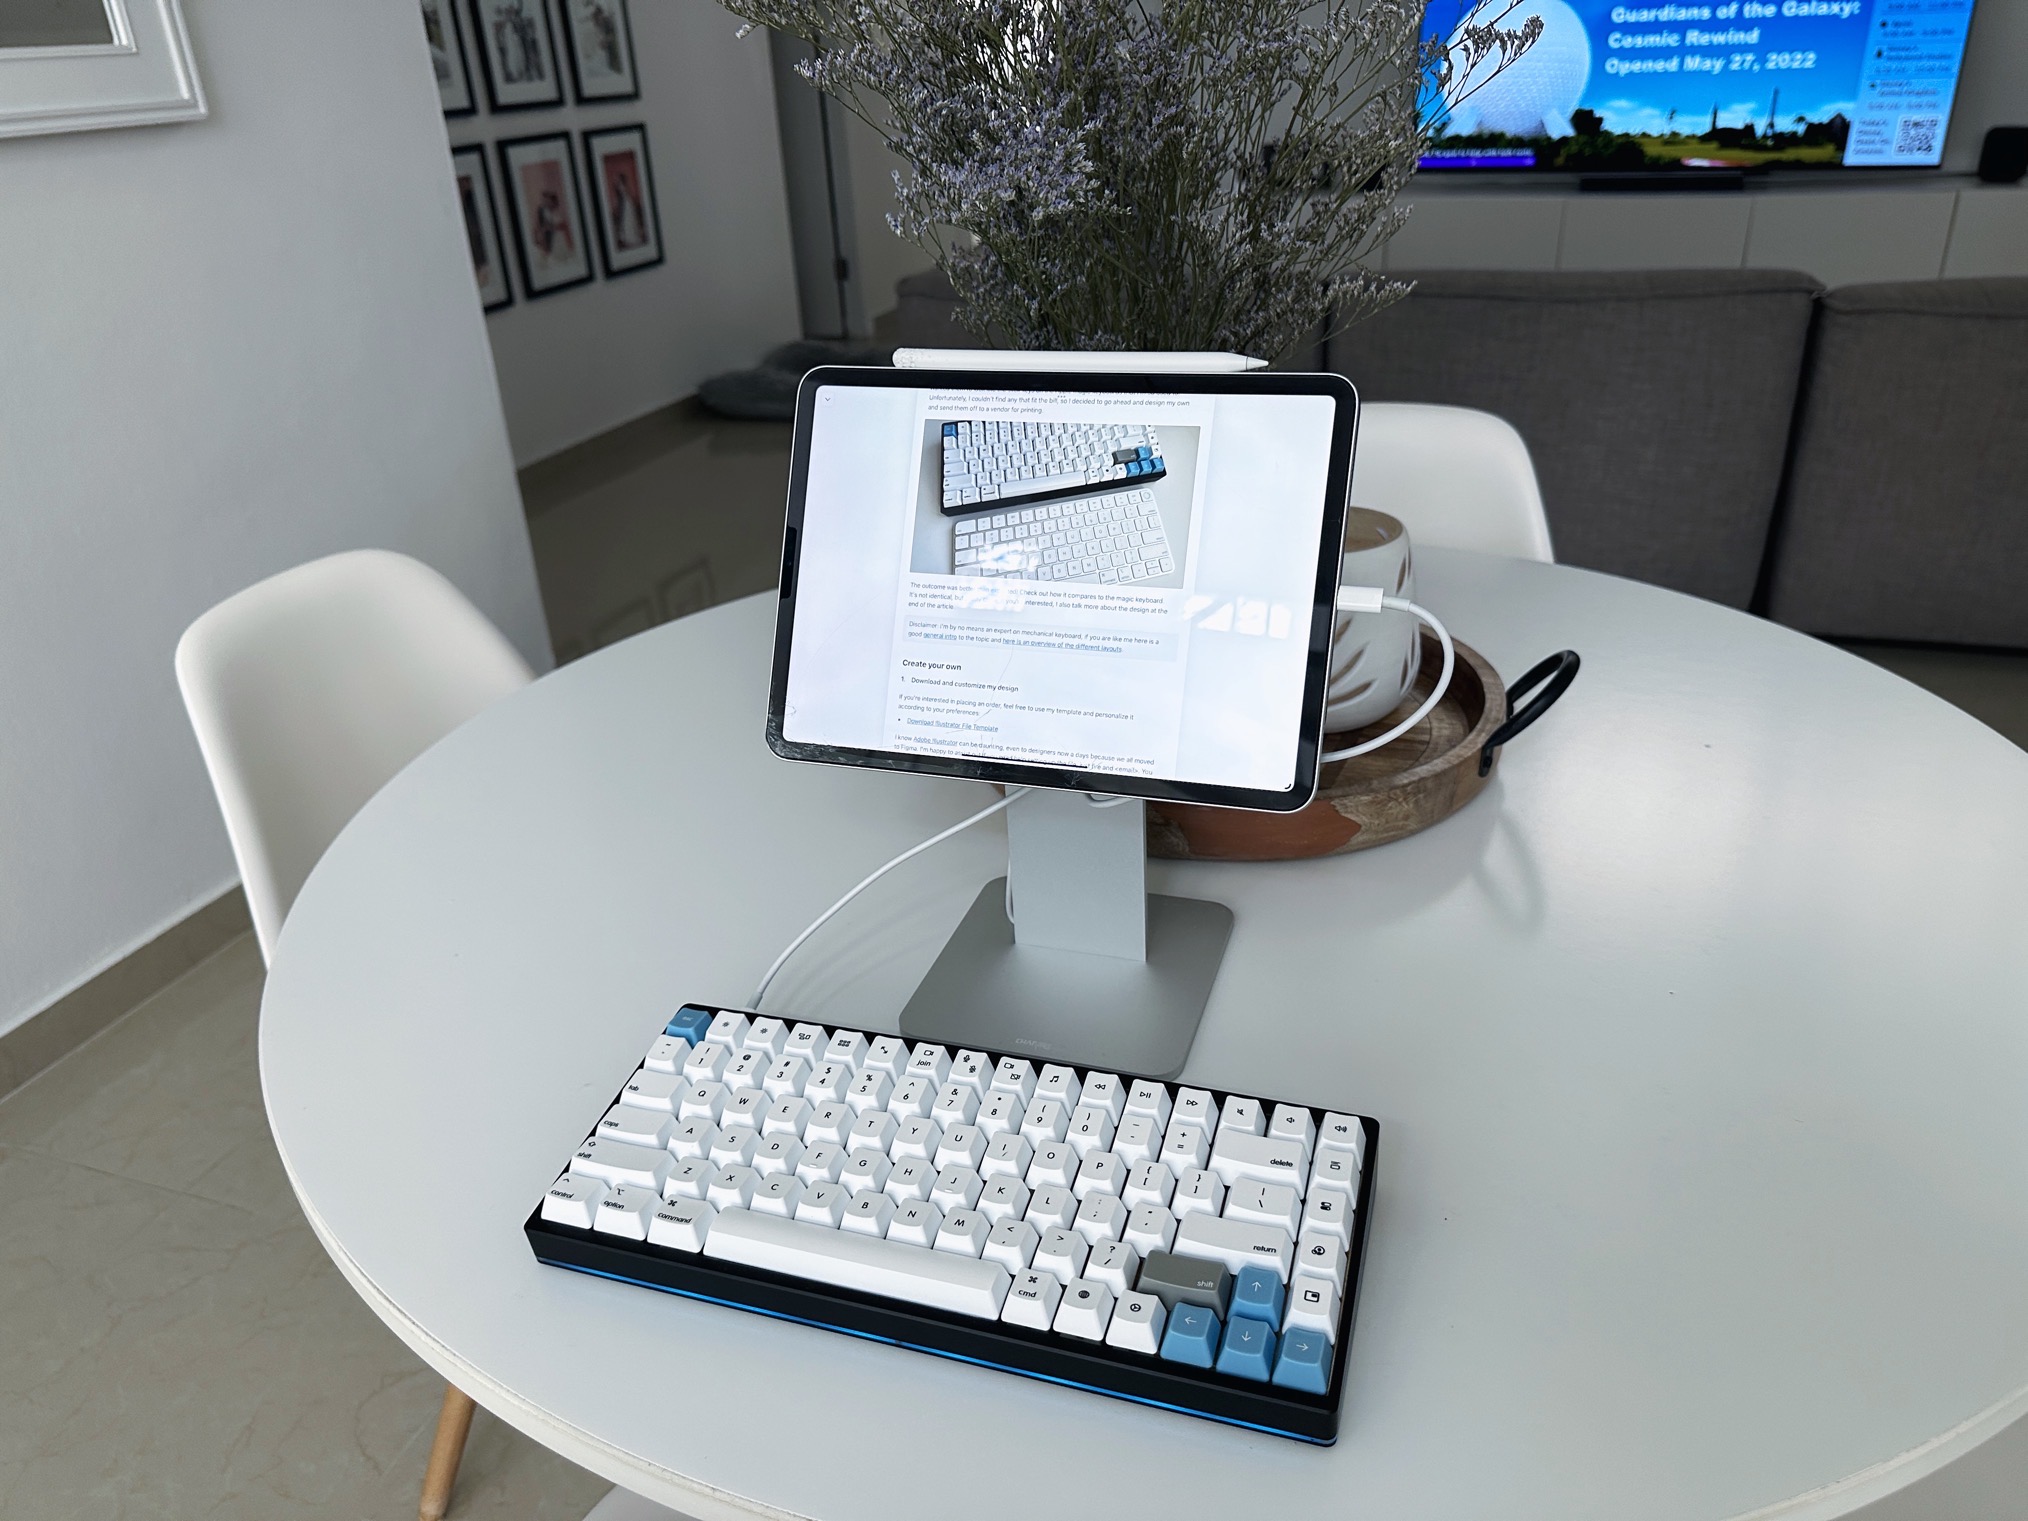
Another cool thing about the keyboard is that because it has a USB-C connectivity I can plug it into my iPad Pro with the Magflott Stand to write from other areas of the house.
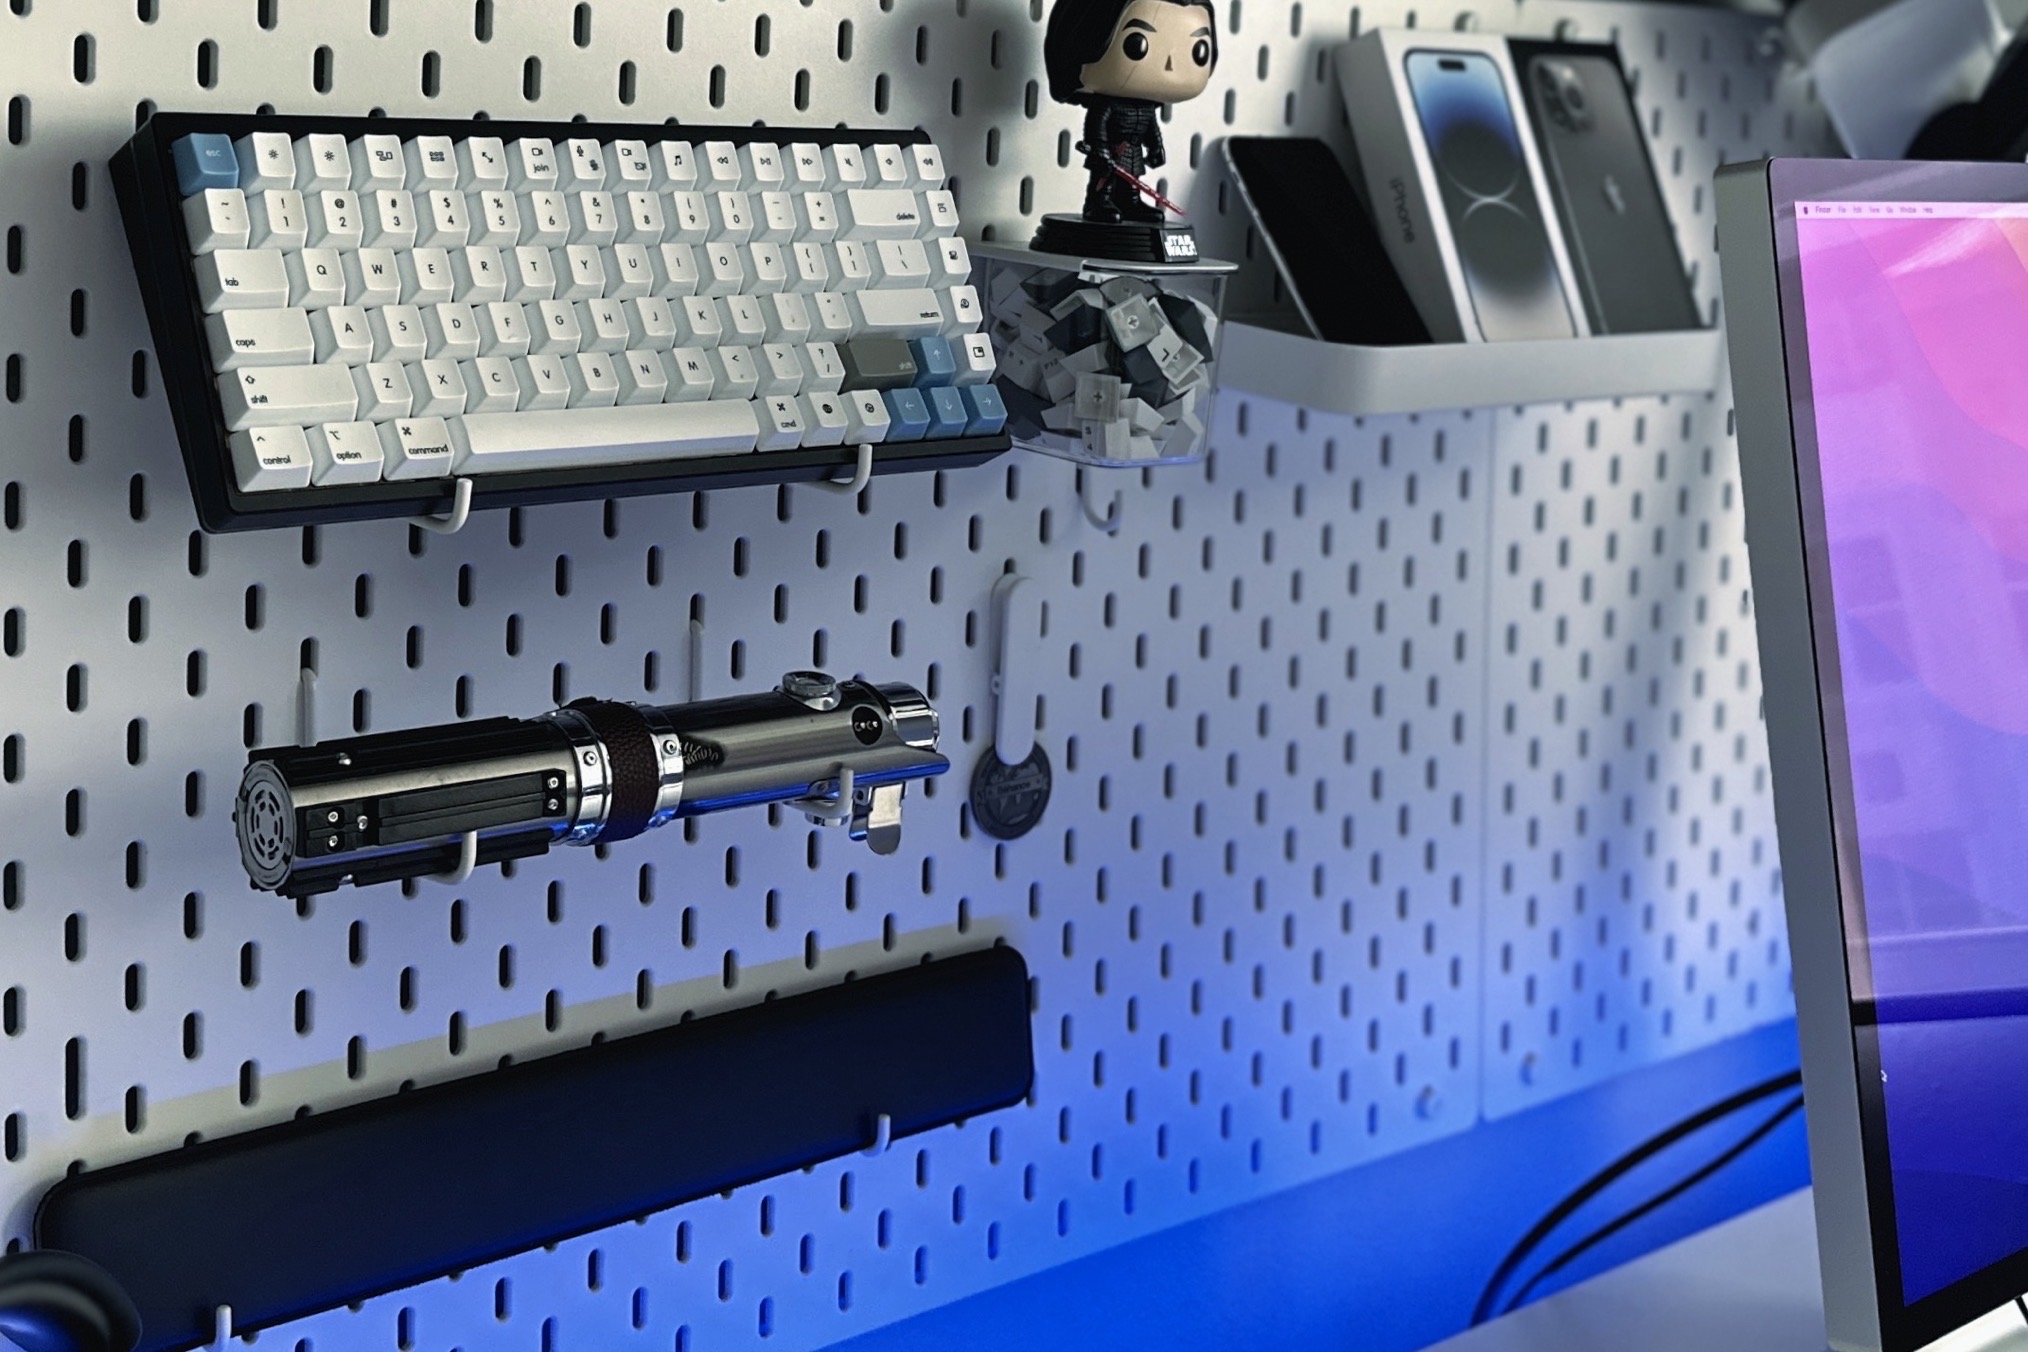
When I'm not using the mechanical keyboard, I display it behind my desk in an IKEA SKADIS. I still go back and forth between the magic and mechanical keyboard. Mostly because I still miss the Touch ID sensor from Apple's Magic Keyboard. Maybe one day, they'll offer it as a standalone feature. In fact, Mike from Relay FM even embarked on a fun project to try and detach it.
The world of mechanical keyboards is super fun but a bit intimidating at the same time, so feel free to ask me any questions or share a pic of your current keyboard.


